   |


| Likes |  |
| Skill | 4 |
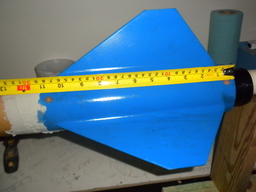
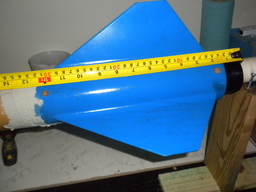
| Length | 63.00" 160.02cm |
| Diameter | 3.00" 7.62cm |
| Weight | 6.83lbs 3.10kg |
| Parachute | 45" 114.30cm |
| Drogue | 24" 60.96cm |
| Motor Mount | 54mm |
| Deployment | Dual-2 Computers |
ZODIAC CRUISER
Description
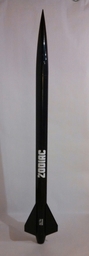
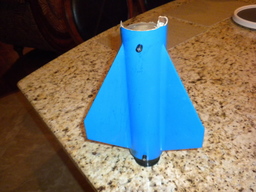
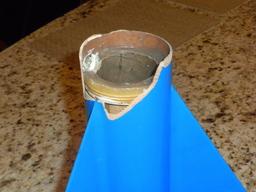
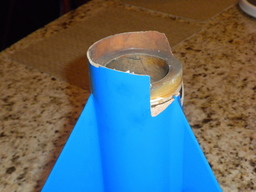
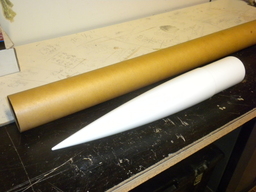
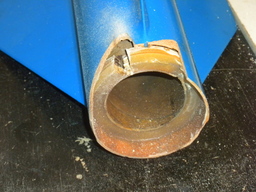
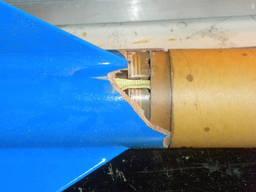
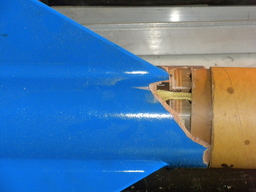
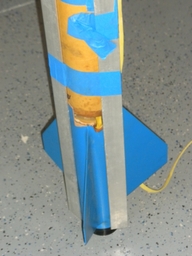
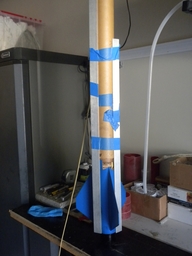
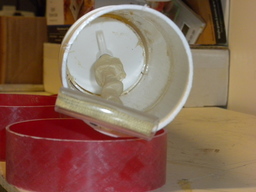
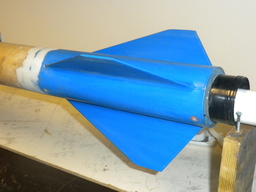
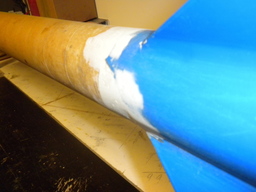
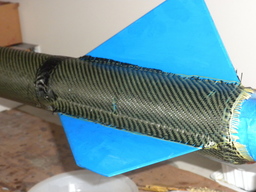
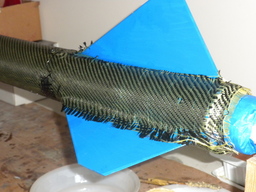
Tim gave me this fin can after he got a CATO with his ZODIAC rocket at the Bunnell Blast NEFAR field on April 9, 2016.
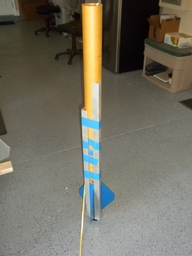
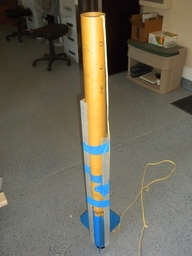
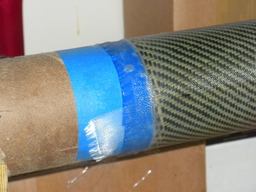
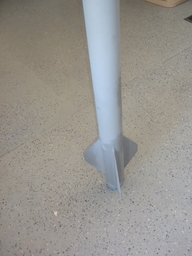
It got me interested having this fin can because it has a 54 mm MM !! And the fins look great also! I'm planning to rebuild this rocket, maybe a bit shorter and light also, But will put a layer of Carbon fiber on top of it also.. Will order a coupler to sleeve the fin can and the rest of the body tube together and see how short it will come out.. Just dreaming of a fast rebuild for now, nothing special will have a plastic heavy duty nose cone also, Planning to go mach with this rocket...
Update 04/24/2016 - Ordered some stuff from Giant Leap a few weeks ago, we spoke on the phone with Kent so finalize the order and parts.. Still waiting for the dam parts ! It seems that those rocketry vendors are real lazy assholes.... A bit upset about the long wait. Order included: Nose cone, 3" tube, 3" coupler, 2 X 20 feet 1/4" chock cords.....
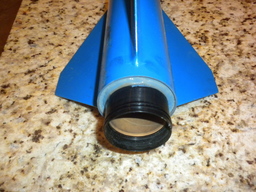
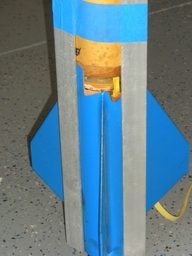
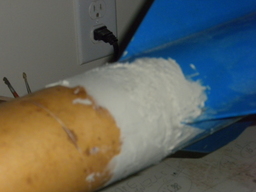
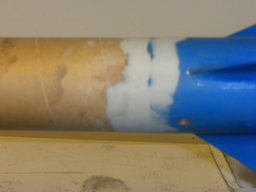
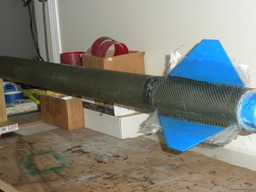
Update 04/25/2016 - My Giant Leap stuff came in today, Coupler, 36" tube, nose cone and two 20' shock cords. Started to glue the coupler onto the tube and have only one inch out to catch the fin can, indeed it is not much but it have to do and after that I put a coat or two of hybrid Kevlar and Carbon fiber on the whole rocket so that will be overkill strong !
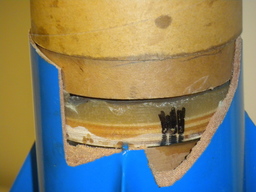
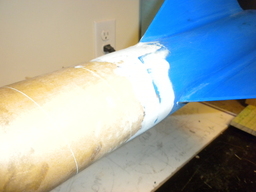
Update 04/27/2016 - Glued the coupler into the frame, only 3/4" is showing out of the coupler. That's indeed not much to connect those two part together, but it will be finished off with Carbon fiber and a few wraps of fiberglass, so that will be strong enough..
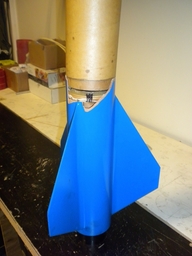
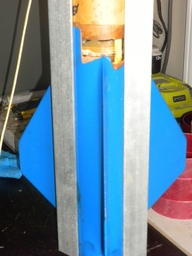
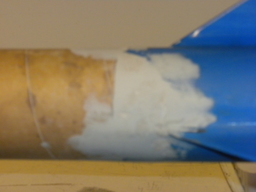
Update 04/29/2016 - Today I glued the fin can and the frame together.. There is really not much to hold on just a 1" lip on the fin can. Also cut a grove for the shock cord and dipped it in epoxy and slide in the motor mouth opening. This all will be finished off with fiberglass and Carbon fiber to give it max strength!
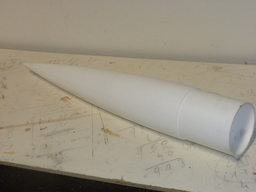
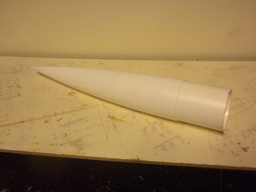
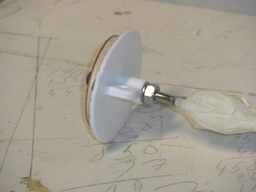
Update 04/30/2016 - Today I cut the bottom part off the nose cone to insert inside with a bridle for more space.
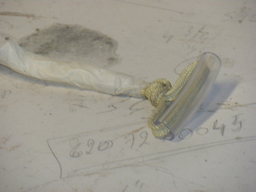
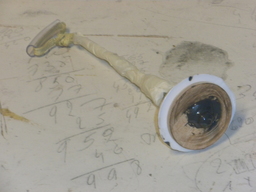
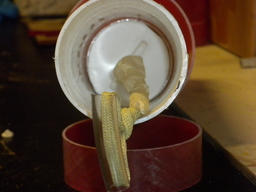
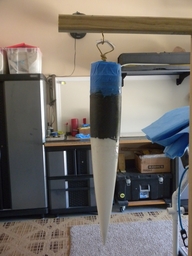
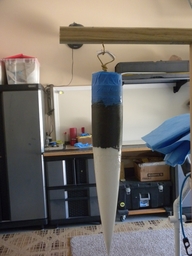
Update 05/01/2016 - Can't believe it's already May !!! Slow year this year and it will get slower as we go. Well did some Nose Cone work, Bridle is in side the hook and the nose cone bulkhead had also a wooden round backing. All is very tight up and JBWeld of course on the nut/bold.. Yesterday night I tacked the combo inside the nose cone to it will stay in place. And today I mixed my very last RocketPoxy for those pieces to glue solid in there. A bit messy but that will do. Next will be the CF/Kevlar glassing and then finish off with fiberglass cloth like two wraps...
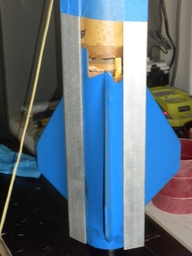
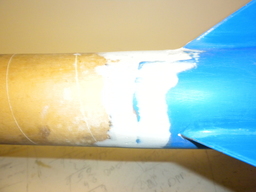
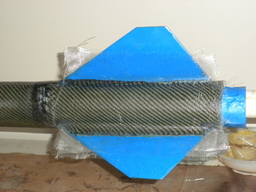
Also applied some fiberglass/bondo in the damaged connecting place, will be sanded properly before glassing.
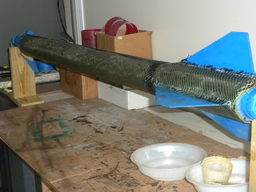
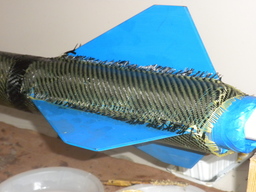
Update 05/03/2016 - Cutting the Hybrid Kevlar/Carbon Fiber cloth, Man that is a pain in the Ass cutting that material, and it raffles like crazy! Got it cut, material is thick enough to do one coat on the rocket.
One coat is on, drying now, then sanding smooth and then tomorrow the E-glass finish coat !
Update 05/04/2016 - Did the E-Glassing finish coat (1) on the rocket and also on the fins, after drying that Hybrid kevlar/CF I found that that was already very strong so I decided to do only one wrap of the E-Glassing and safe the leftover for grizzly. Did also some CF inside the shoulder of the nose cone to give that extra strength. It all looks good so far, looking forward to do some sanding later this week !
Update 05/05/2016 - Ok the tube is all dry and I put another clear coat of epoxy on it so when this is dry I will sand this and see if it needs some more clear coat for smoother surface.
Update 05/07/2016 - Sanded the tube very thoroughly still some dips and bumps, will be fixed with Bondo. Primed the tube to see were those dips and bumps are so easier to see and fix. Also build up the nose cone to match the tube size. Applied CF and Fiberglass, each one layer. Letting it dry for now and later sanding, sanding..etc
Update 05/09/2016 - Ok have bondo now on the fin section and some on the main frame, will sand that when all dray and hard and cured... And hopefully not to much visible bumps, so I might do some more bondo treatment..
Redid the sled with the stratologgers on a G12 fiberglass sled. Seems all fits nice with Iphone space.
Update 05/29/2016 - Today I put some more CF on the nose cone and applied the 'heat' epoxy for that.
Update 06/08/2016 - Widman's rocket stuff came in today, so now I can work on the Av Bay and put that together, Still need 2 rods for the sled and Dog-House connectors to finish all the wiring. Will be a smooth job and then the painting.
Update 06/12/2016 - Sanded the nose cone again, was already painted but could see some imperfections. Nose cone has the expanding foam inside now.
Update 06/28/2016 - drilled all the holes, like screw holes, vent holes, sheerpin holes, also the window view port is drilled out nicely and it should line up perfect. At this point everything is ready and installed, except for the window 'glass'. The Av Bay and sled are ready to fit and go. Checked the stop ring for the Av Bay and that looks solid, it came loose the other day but is in solid now, Might ad a few epoxy as I go with other projects. Nose cone is sanded again and ready to be painted ad the rest of the rocket. Will use the colors that I have and not buying new colors. Just the rail buttons and window. Also waiting on Wildman for the parachute protector and a chock-cord.
Update 07/02/2016 - Panted the Nose cone today, still some imperfections, but I deal with that after a couple of flights. Still have no clue how to pick the colors for the body.
Update 07/09/2016 - Sanded the upper bay a bit more and put some more epoxy on the inside of that upper frame. Started painting the rocket GREEN, could not find a good theme so that green will be combined with other colors tomorrow..
Update 07/10/2026 - Did some more painting on the lower body part, I like how the fins came out but not the Blue/red upper part. have to think about it for no what to do and color use.. Just don't know, actually not much goes with green..
Update 07/29/2016 - Only vent hole and sheerpin holes done today, nothing more, Still puzzled about the color schema...
Update 08/04/2016 - Have cut out some designs on Cricut paper from zodiac signs, These will so to have the rocket finally painted.
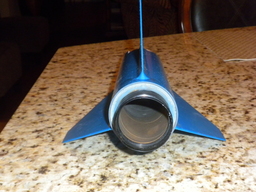
Update 08/06/2016 - The last design painted on the fins and now the rocket is finally complete ! Waxing in a few days. Done. Fly it now !
Update 08/16/2016 - Today I finally glued in the plastic window in the viewport of the av bay.
Update 08/21/2016 - Today I did the pyro test and the final charge was 1.8 grams for drogue as usual for all my 3" other rockets. The backup will be 2.0 or maybe 2.2 grams.There only will be one stratologger and backup that only fires the drogue, the main is in the same compartment with a chute release from Jolly Logic. So far all systems are tested and ready to go in September.
Update 09/14/2016 - Was watching the bogus video's from the first flight and the window has a smudge, so I will replace that, before the second launch !
Update 12/02/2016 - Rocket cleaned up after the last launch in Bunnell, came down through the trees and has some marks, Just polish and waxing.
Update 12/03/2016 - Put some more, just a bitsy, weight in the nose cone, noticed that the pellets were a bit loose so I poured a bit more epoxy in it to get it harden.
Update 10/02/2019 - Did some remodeling on the front of the AvBay, replaced the big eye bolt with a much smaller one, I'm planning to use this bay for the main chute, so that will give me more space. Also have a 1/4" chock cord in there with the chute protector and chute that might all fir perfectly.
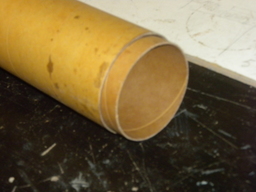
Update 02/16/2020 - Extended the upper bay like 6" of this zodiac rocket to hold a main chute properly with no hassle. Cut a sleeve from Tim's earlier Zodiac tube and also a 6" extension that I epoxied together. When this is all dry I will sand it all down and repaint this whole section.
Update 02/17/2020 - To get he transitionsmoother, I applied one wrap of fiberglass. Has to dry now so I can sand it tomorrow.
Update 02/18/2020 - Since this rocket is being rebuilt, it is now moved over to ZODIAC CRUISER II
THIS ROCKET PREFERS THE CHUTE RELEASE !!!!!
Main Parachute: 45" - Drogue Parachute: 24"
Main charge: 1.8 grams
Back UP charge: 2.2 grams
Summary | |||||
| Total Launches | 5 | Highest Altitude | 9813 ft 2991.00m | Cumulative Altitude | 35712 ft 10885.02m |
| Total Fail | 0 | Highest Velocity | 792 MPH 1275.12km/h | Average Altitude | 7142 ft 2176.88m |
| Average Motor | K | Average Thrust | 480 | Total Thrust | 2404 |
| Motor Sum | M | Motor Failure | 0 | Average Speed | 599 MPH 964.39km/h |
Launches
| Date | Title | Likes | Weight | # | Status | Altitude | Velocity | Motor | ||
| ZODIAC CRUISER - FIFTH FLIGHT | | 7.41lb. 3.36kg | 1 | Success | 8830 ft 2691.38m ?9309 ft ?2837.38m | 674 MPH 1085.14km/h ?668 MPH ?1075.48km/h | K400-17-GREEN | ||
| ZODIAC CRUISER - FORTH FLIGHT | | 7.41lb. 3.36kg | 1 | Success | 2407 ft 733.65m ?3411 ft ?1039.67m | 264 MPH 425.04km/h ?334 MPH ?537.74km/h | J250-15-SKIDMARK | ||
| ZODIAC CRUISER - THIRD FLIGHT | | 6.83lb. 3.10kg | 1 | Success | 7107 ft 2166.21m ?7000 ft ?2133.60m | 570 MPH 917.70km/h ?543 MPH ?874.23km/h | K355-17-RL | ||
| ZODIAC CRUISER- SECOND FLIGHT | | 6.83lb. 3.10kg | 1 | Success | 9813 ft 2991.00m ?9454 ft ?2881.58m | 792 MPH 1275.12km/h ?792 MPH ?1275.12km/h | K940-18-WHITE THUNDER | ||
| ZODIAC CRUISER- FIRST FLIGHT | | 6.94lb. 3.15kg | 1 | Success | 7555 ft 2302.76m ?8013 ft ?2442.36m | 699 MPH 1125.39km/h ?620 MPH ?998.20km/h | K454-19-SKIDMARK |


Video
 |
Images

 1 2 3
1 2 3
 |
 |
 |
 |
 |
 |
 |
 |
 |
 |
 |
 |
 |
 |
 |
 |
 |
 |
 |
 |
 |
 |
 |
 |
 |
 |
 |
 |
 |
 |
 |
 |
 |
 |
 |
 |
 |
 |
 |
 |
 |
 |
 |
 |
 |
 |
 |
 |
 |
 |
Comments
Cool Freddy! Maybe you can rebuild my Arcas!
Yes I can, Remember I'm the 6 million whatever man..
Great pyro test Freddy. Excellent work!
Even if you have the same rocket with the same materials, the ground pyro test is an excellent stress test of the entire system, including the electronics.
Thanks Jason, but that was 1.6 grams I will do 1.8 grams as all the other 3" rockets and 2.0 for backup.... just to make sure..
esotericdude on 2016-08-23 12:52:43Z wrote:
Understood. I saw in your notes you would up it a bit.