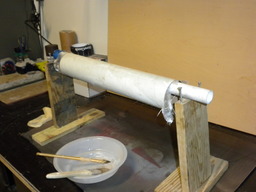
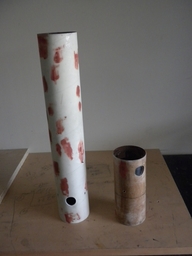
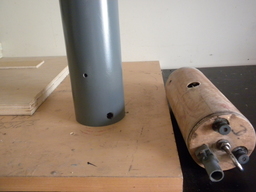
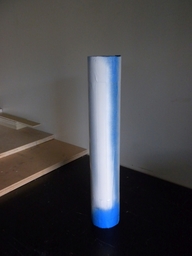
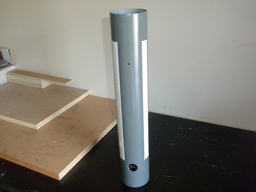
Had a 'little' zipper when I launched last time at the NEFAR Bunnell blast November 2017. Drogue did not deploy, and main came out under high speed decent and resulted in a 10" zipper in the upper air frame. Nothing else was hurt, not even the fins or the Av Bay. The only part thet I need is a 15" BT2.56 body tube everything else is fine.
Update 11/14/2017 - Emailed Loc Precision for air-frame part.
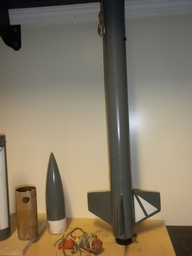
Update 11/15/2017 - Tried to figure out a good plan to attack this rebuild. Will be exactly the same as before but all the holes and window has to line up with the Av Bay also..
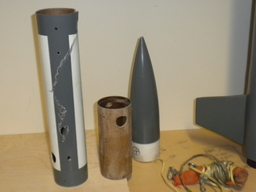
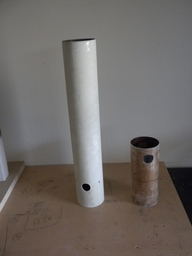
Update 11/22/2017 - Body part came in the mail today from LOC precision. Waiting for a good day to start building.
Update 11/29/2017 - Could locate a few fiberglass parts that might be enough to cover the whole upper bay. Finding time to start soon.
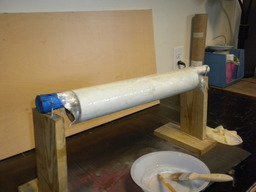
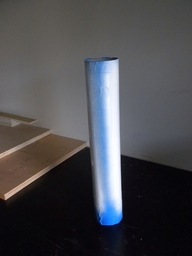
Update 12/16/2017 - Started glassing the upper bay for the HiTech III, not the greatest job but that has to do with the left over Fiberglass I had.
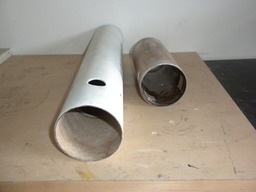
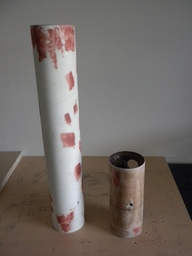
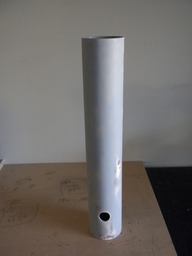
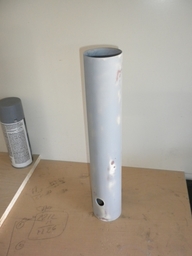
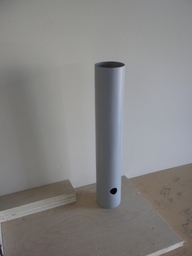
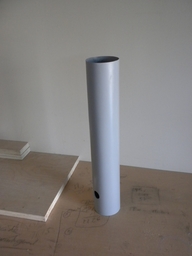
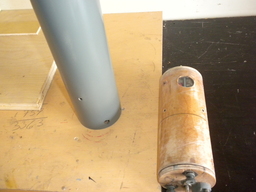
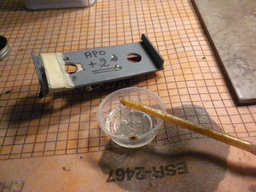
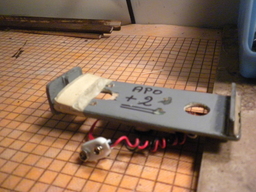
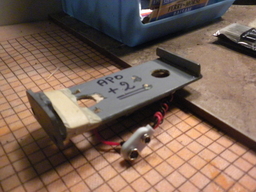
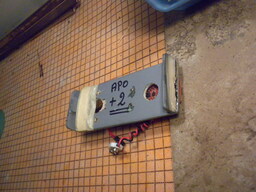
Update 01/11/2018 - Something got in me to start this project again tonight...The launch for tomorrow is cancelled due to standing water on the field. Started sanding this unbelievable bad glassing job, but hey it came out smooth. Also drilled the view port hole and lined it up with the old one (height). All good and perfect there. Tomorrow it will put on a final coat of epoxy with balloons and then smoother sanding ready for paint. Still have to measure and line up the screw holes and the vent holes and the switch hole. Wish me luck. Also glued in the AvBay stop band inside and had a great line up with the view-port window, so that is squared away.
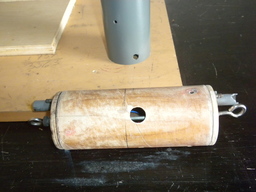
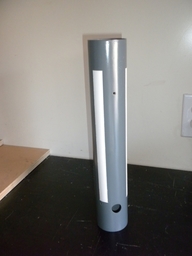
Update 01/21/2018 - Slow weekend, did some sanding the epoxy on the upper bay, then applied bondo, sanding and priming again a few times. Put the last primer coat on, so when dry light sanding and then ready for painting. Also need to drill the vent holes and the screw holes and lower shearpin holes on booster. Also Av Bay section is sanded from the excess of epoxy that I used to cover the holes I have to re-drill. All good to go.
Update 02/19/2018 - Feel better today after my week in the Hospital, drilled 3 screw holes and the switch hole. Sanded the residue down and will paint tomorrow...
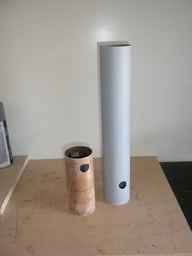
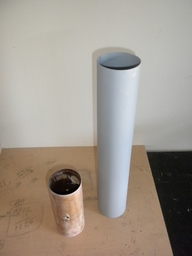
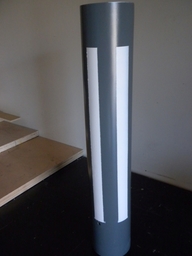
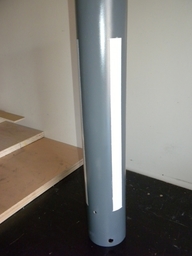
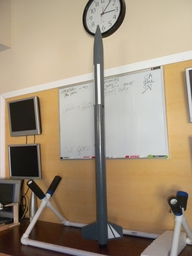
Update 02/20/2018 - Painted the final gray coat on the upper section, also drilled the switch hole a bit larger. Next is drilling the lower shear pinholes and the white upper section lines as originally.. Also finished the white section on the upper bay. All needs waxing in a few days.
Update 02/21/2018 - Fixed the parachute today, stitchedall aroundthe spill hole, double stitched. Will work for a few times more.
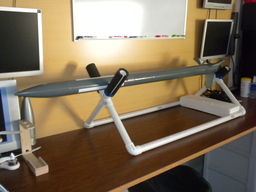
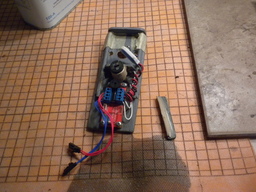
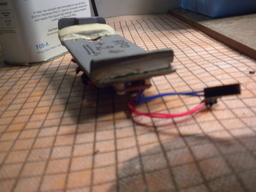
Update 02/16/2020 - Fixed the sled today, epoxied just a little piece that holds the Iphone in place.
Charges: Drogue 0.8 grams -Charges: Main 0.8 grams
Parachutes: main - 30" -Parachute: drogue - 18"
Use Motor Charge as back up
Do NOT use shear pinsfor thisrocket.


Comments
My thoughts these days is as long as it flies, who cares what it looks like!