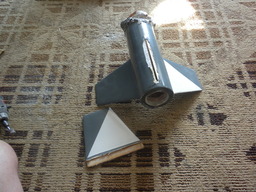
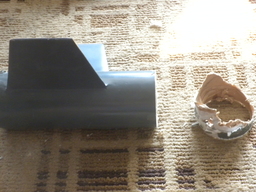
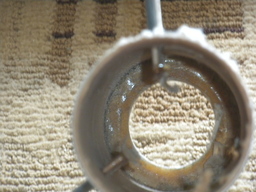
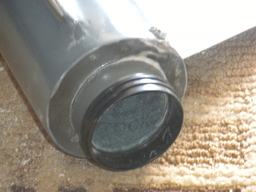
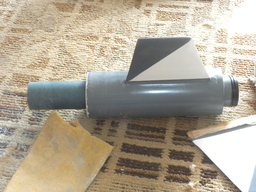
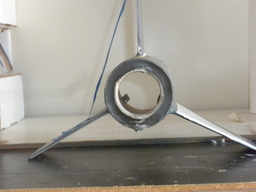
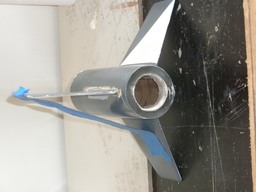
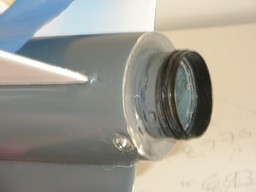
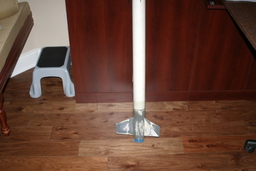
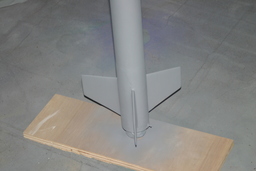
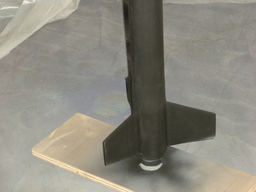
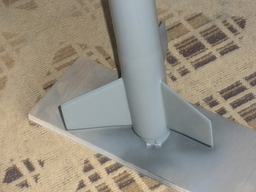
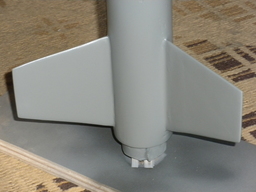
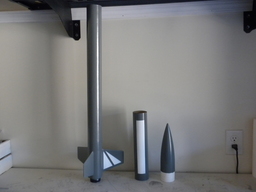
After a ballistic re entry the first HiTech was actually completely destroyed, except for the fincan and fins, They were still in great shape, so I decide to rebuild the original HiTech 45 rocket.
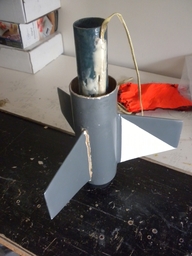
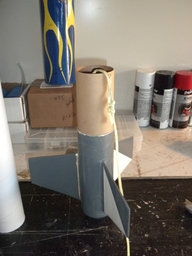
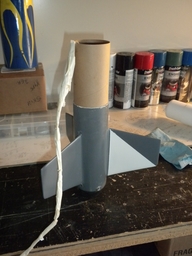
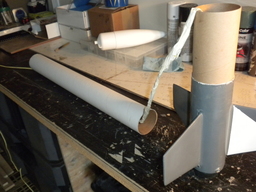
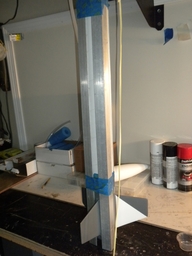
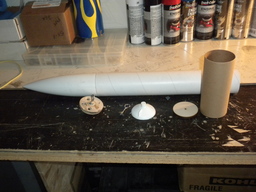
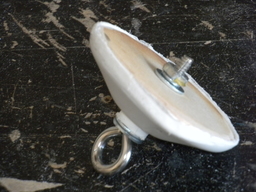
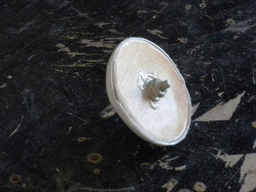
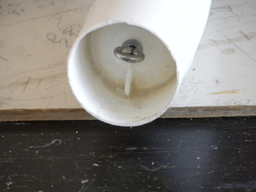
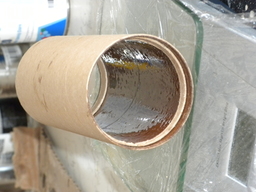
Update 07/08/2016 - Started to rebuild the HiTech II, the parts from LOC precision came in today, actually I got the order twice, which was convenient because I needed a 14" upper bay anyway ! Which I forgot to order. Cut a 24" body tube and a 15" upper part. Used the coupler for the body to the fin can assembly. Also cut the lower part of the Nose Cone which will be inserted inside with a bulkhead for strength and an eye bolt. So far so good, will continue in the next few day and fiberglass the body tube and fins again !
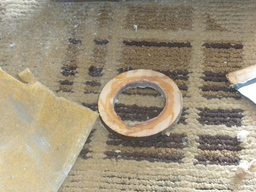
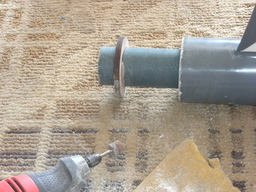
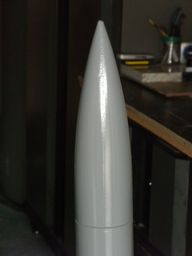
Update 07/09/2016 - Did some more work on the nose cone, inserted the end inside and eye-bold with rocket poxy, also left over rocket poxy went on the damage fin for more strength. Also put some epoxy inside the Av Bay and installed rims on both sides.
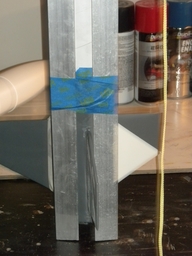
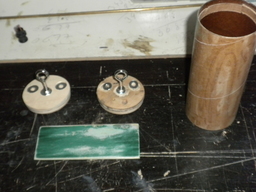
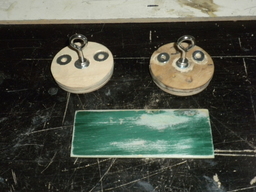
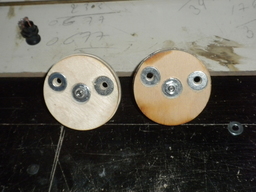
Update 07/10/2016 - Did some bulkheads work in and out bulkhead, drilled he holes for the eye bolts and the rods. Need one more threaded rod so that will be done. Made the sled already and the setup drawn out, the switch will be in the middle between the battery and the stratologger. Seems I have all the wiring also for the connections.
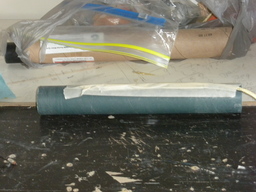
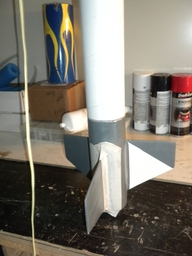
Update 07/11/2016 - Started Fiber glassing the rocket - upper and lower air-frame. And again epoxy in the av Bay to make that more solid. Also pored some epoxy in the nose cone. Fins are halfway glassed past the fillets, That rocket was already glassed before.
Update 07/13/2016 - Did a laminating epoxy coat with micro balloons today, sanding when dry.
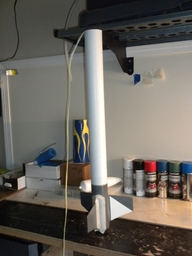
Update 07/17/2026 - Found the energy today to sand with 150 Pro grit and prime the rocket, After a Sunday yard work... Looks great....the rocket also..
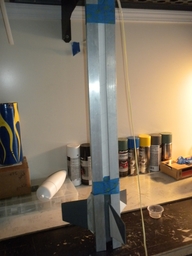
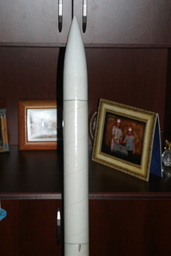
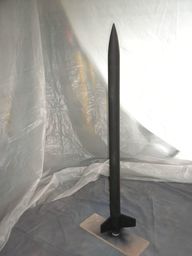
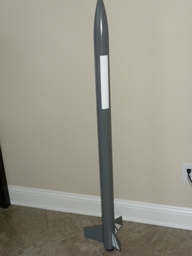
Update 07/18/2016 - Sanded the rocket, put some primer on it again, let dry and sanded again, then used the heat paint on the whole rocket, let dry and then some more light sanding. After this whole stuff I spayed the first gray color coat on the whole rocket, that will dry overnight and then the while parts... Looks kinda glossy and cool already !
Update 07/19/2016 - Finished the white paint parts on the rocket, looks all great, After a few days, polish and waxing... And still working on Av Bay setup and parts.
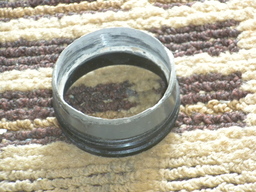
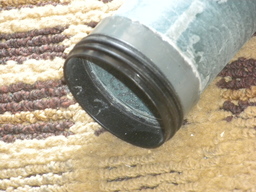
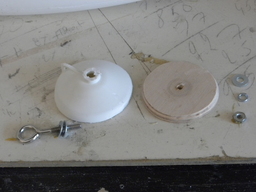
Update 07/20/2016 - Installed the Av Bay stop ring in the upper section, also put CA glue in the top of the booster and the upper section just to enforce those parts.
Update 07/21/2016 - Had some left over epoxy so I did epoxy the inside of the booster and the upper section, just for charge/blast protection.
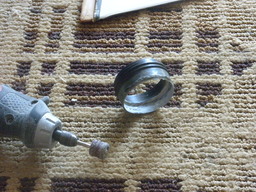
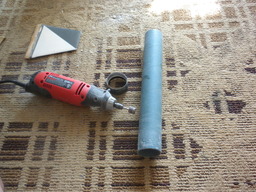
Update 07/24/2016 - Worked on the Ab Bay. sled and guide rails... The first attempt had epoxy inside the hollow tubes and got stuck solid so I had to take it apart and buy new rods. Cut the rods in size, did the epoxy thing and glued them on the sled and they came out just right. Had to put a little oil inside the brass tubes because it was indeed a little tough to slide, but still it's all good and perfect now. Tried the iphone with tape and it seems to fit perfect. Now have to order the Stratologger and put it all on the sled and drill the final holes like, vent holes, screws holes/view-porthole and sheer pin holes.
Update 07/27/2016 - Just polished and waxed the rocket today. Nothing more, still have to order the stratologger....
Update 07/28/2016 - Drilled the screw holes (3) and venting holes for stratologger (4) and 2 additional vent holes in upper bay and lower booster for separation.
Update 08/05/2016 - did some work on the Av Bay, The added fiberglass to keep the battery and iphone in place seems to work great. Painted all in primer grey. Also added a round tube on the sled for the switch to fit in. Actually soldered the terminals of the switch and glued the switch in place in kinda low profile to fit the curving of the av Bay. Then put a dot of epoxy on the terminals and also on the stratologger screw set bottom part... when all is dry then I will continue to connect the terminals.
Update 08/21/2016 - Redid the sled setup, due to a miss connection of the switch. All assembled and connected and working great. All glued in place and working properly. Still need to drill the window and switch holes.
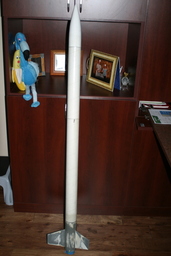
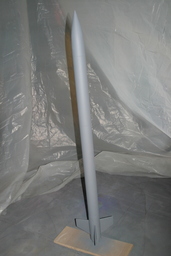
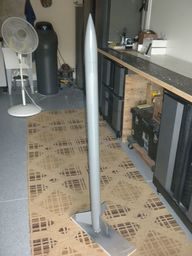
Update 08/29/2016 - Window drilled out and also switch hole, had to do it over again because it did not line up properly, used rocket poxy to fill it up and sanding down, Also painted the area again, all came out smooth! This rocket is ready to go !!
Update 01/28/2017 - Replaced the Main shock cord with a new one only 10 feet long, the drogue chock-cord is 15 feet long.
Charges: Drogue 0.8 grams
Charges: Main 0.8 grams
Parachutes: main - 30"
Parachute: drogue - 18"
Averages & cumulative are calculated if there are actual values present, not just estimated. None of the averages or weighted. Please do not populate actual values with estimates.


 1 2
1 2