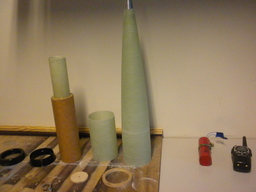
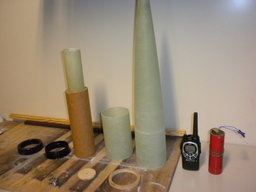
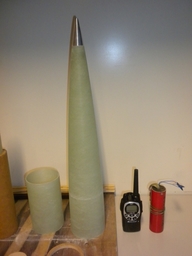
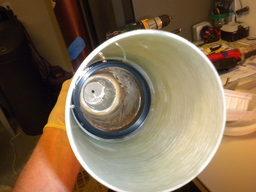
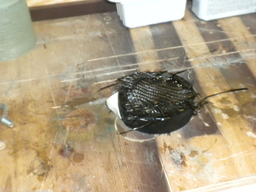
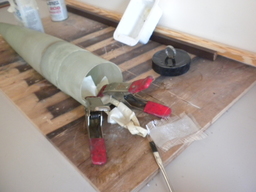
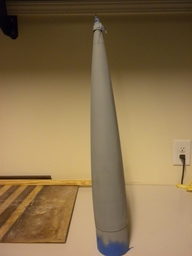
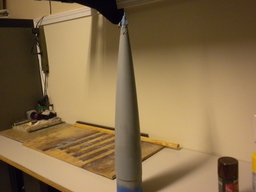
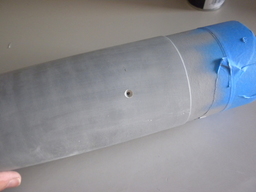
Just an experimental nose cone to be used on all existing 4" rockets. Has bay for RTX/ GPS and Radio.
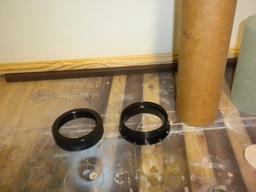
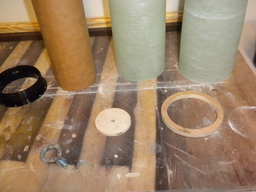
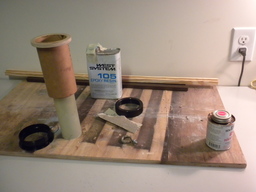
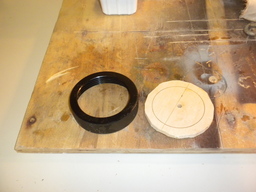
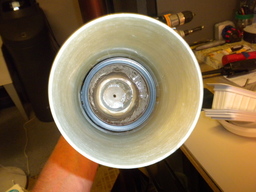
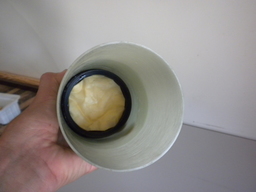
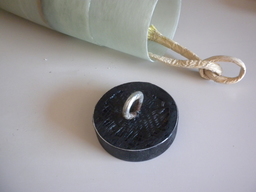
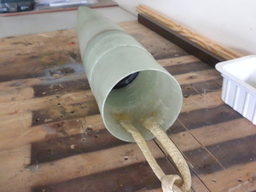
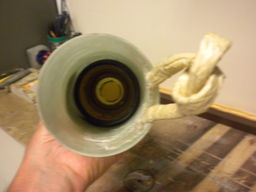
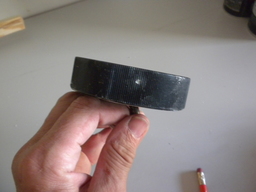
Update 08/19/2018 - Today I did some work on the nose cone, inserted the bay and rings inside and secured them with epoxy, also glued in the 75 mm retainer ring and finished it off with another 75 mm - 98 mm ring on top. All secured and also sided in the nose cone shoulder to secure it all. It's all tighten up very very strong.
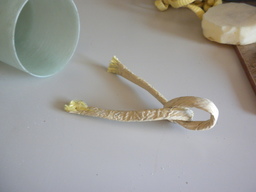
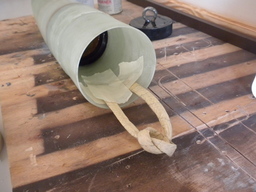
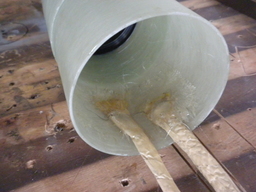
Also secured a kevlar bridle in there as a second secure point for the shock cord. All is finished off with a fiberglass cloth on top.
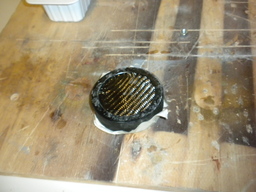
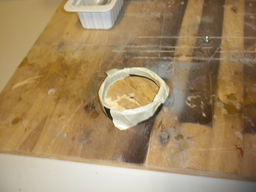
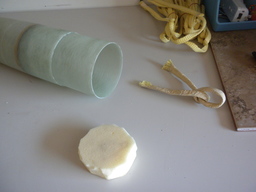
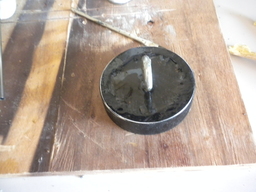
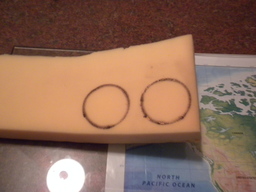
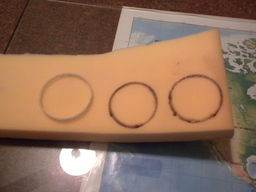
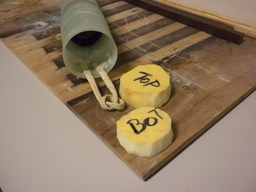
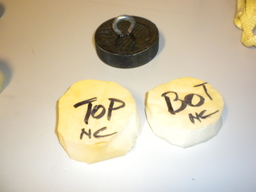
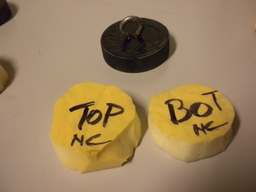
Update 08/19/2018 -I also made a foam cushion that sits on top of the retainer part, so actually the bottom of the nose cone bay to soften the shock of the radio in there.
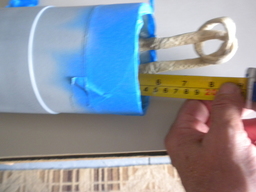
Update 08/20/2018 - So far the nose cone will have 3 foam cushions, one 54 mm on the very top, one 75 mm in the middle and one 75 mm on the bottom were the retainer closes up the bay.
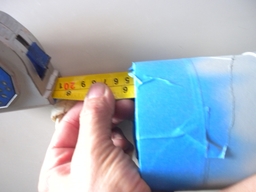
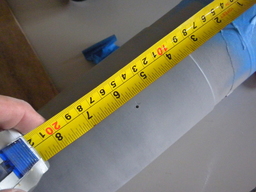
I'm also trying to make this nose cone to fit on all the 4" rockets, some needs lots of sanding on both, shoulder and inside the upper bay to make it all fit and slide.
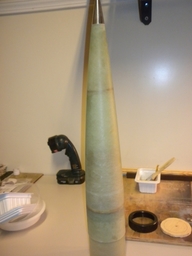
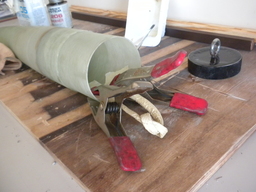
Update 08/21/2018 - Second day of sanding shoulder, fits almost smooth in rockets (Hell Cat & Thunderstruck)... Maybe another few hrs and that will be good to go, Also did some more epoxy in the inner shoulder so take the rough edges away from the shock cord bridle.
Update 08/22/2018 - Third day of sanding shoulder, fits like a glove, with talcum powder it slides off, but I want it to give a bit more slack, just to make sure that I have separation.
Update 08/23/2018 - A bit more rougher sanding today than smoother, fits much more better now, need to apply baby powder for AvBay connection for sure.
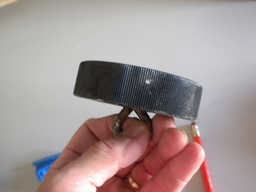
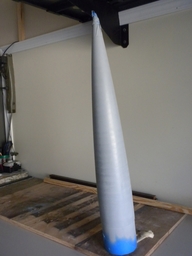
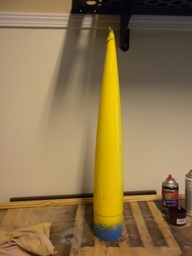
Went to the store and got the primer, did a coat of primer on the nose cone and will wait till tomorrow to finish painting it with the yellow final color.. Will drill some holes first that hold the retainer cap in place.
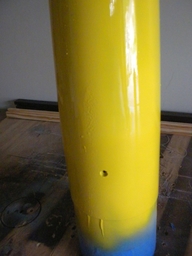
Update 08/24/2018 - Drilled 2 holes in the nose cone for the cap screws. Seems to work well. Sanded the primer down a bit with 480 and 1000 grit, and than sprayed the finishpainton, did not work that great had to re*sand the nose cone to smoothen out the lumps a bit and than sprayed the second coat.
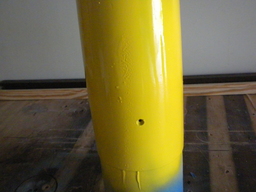
Update 08/25/2018 - Ok, final coat done, done, done, enough already ! Holes drilled some more to get those screws smooth with the outside. Project done !