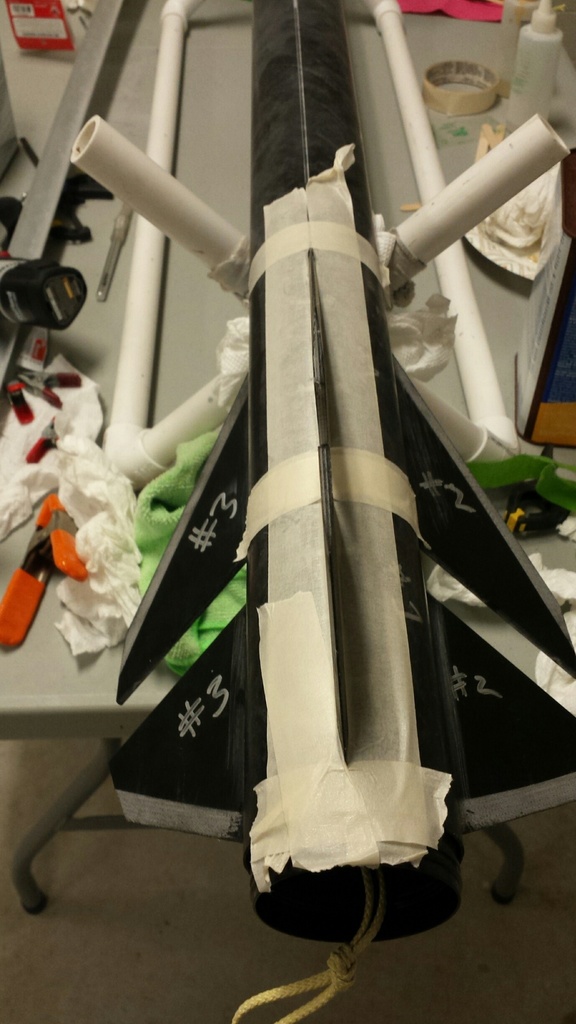
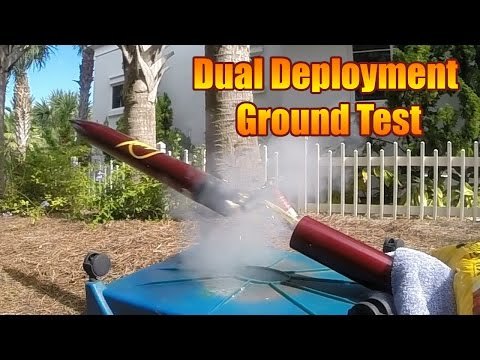
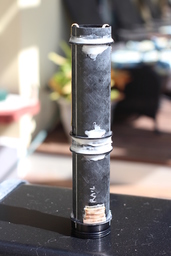
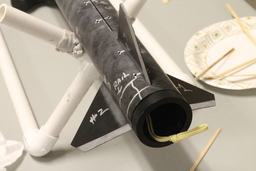
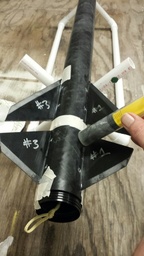
This is my new Wildman Darkstar 2.6 inch with 54mm Motor mount. I just got the kit and will be posting the build images and thoughts as i go. Should be quite the screaming little rocket. I do plan on pushing it on 54s... but will prolly start out with some big 38s
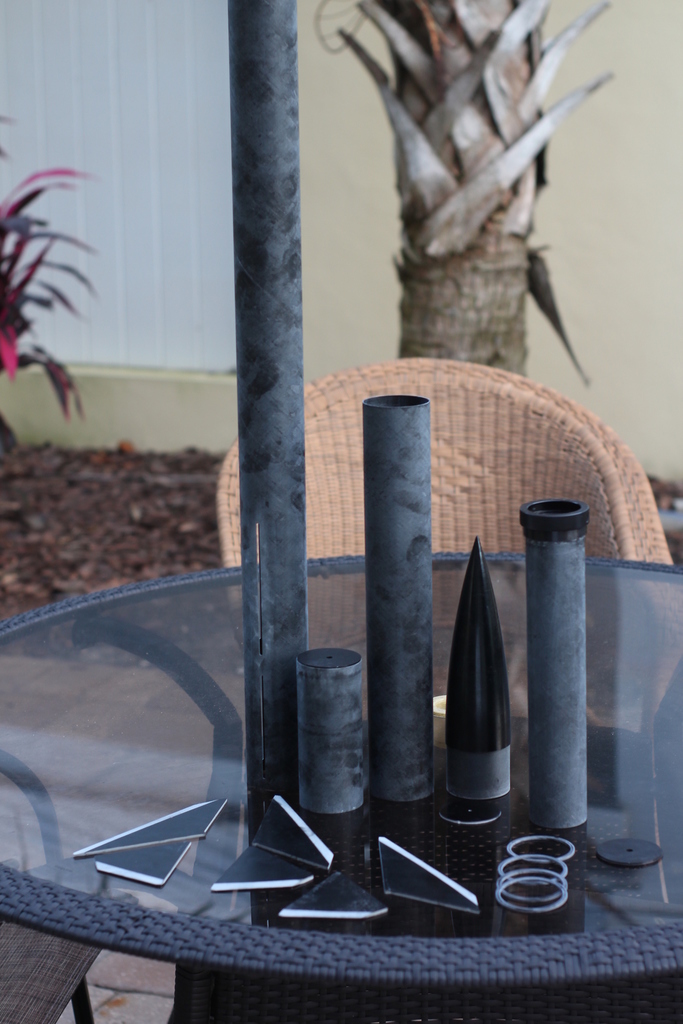
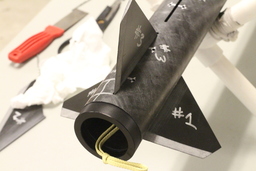
Here are all the parts out of the box from Wildman Rocktry
 |
4  |
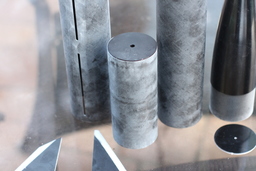
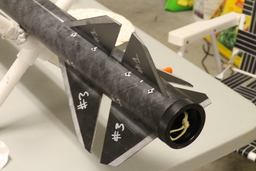
The fins
 |
4 |
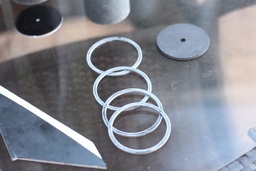
Tiny centering rings
 |
4 |
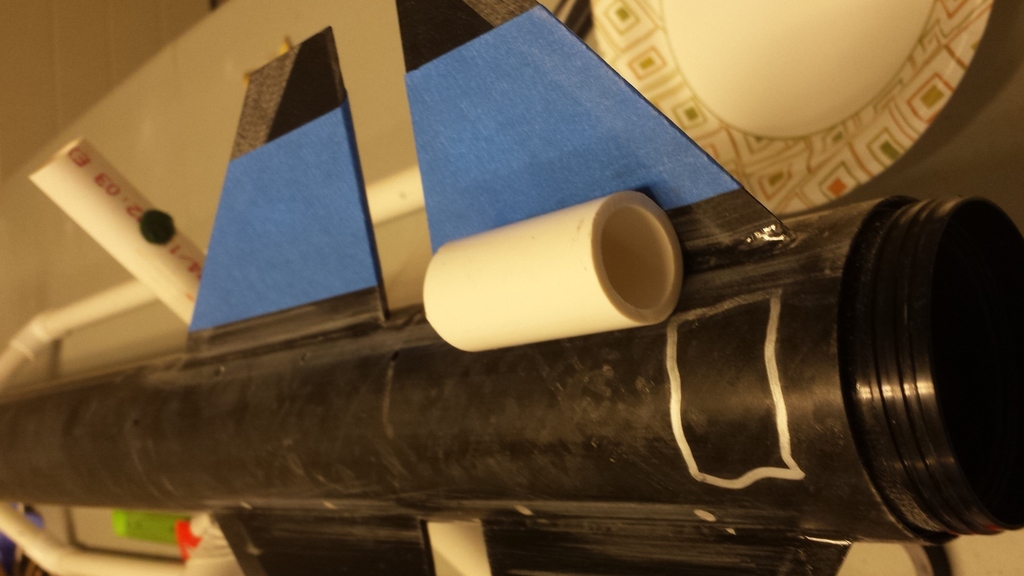
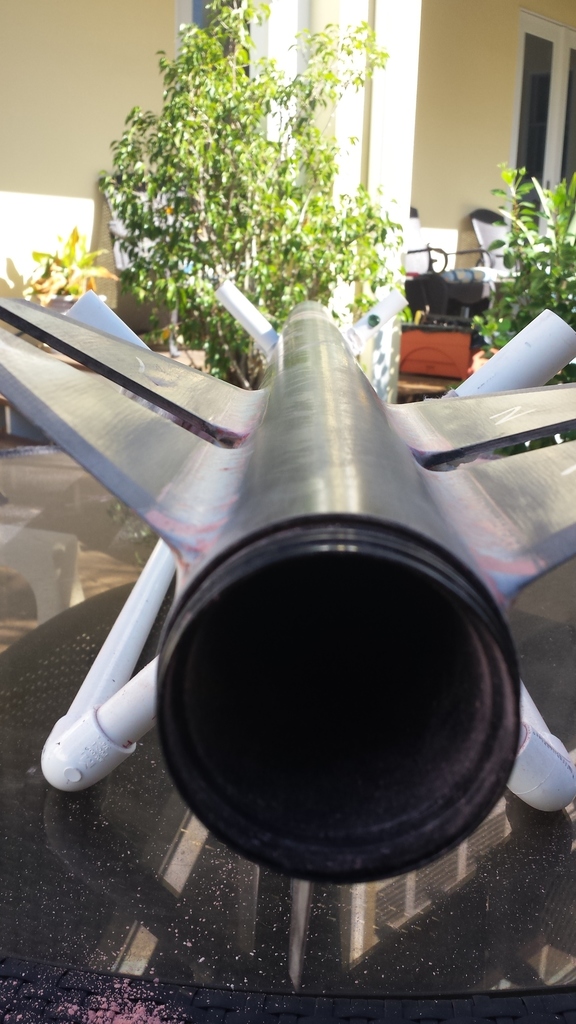
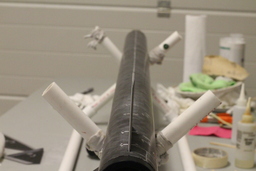
And A dry Fit - Just for fun
 |
4 |
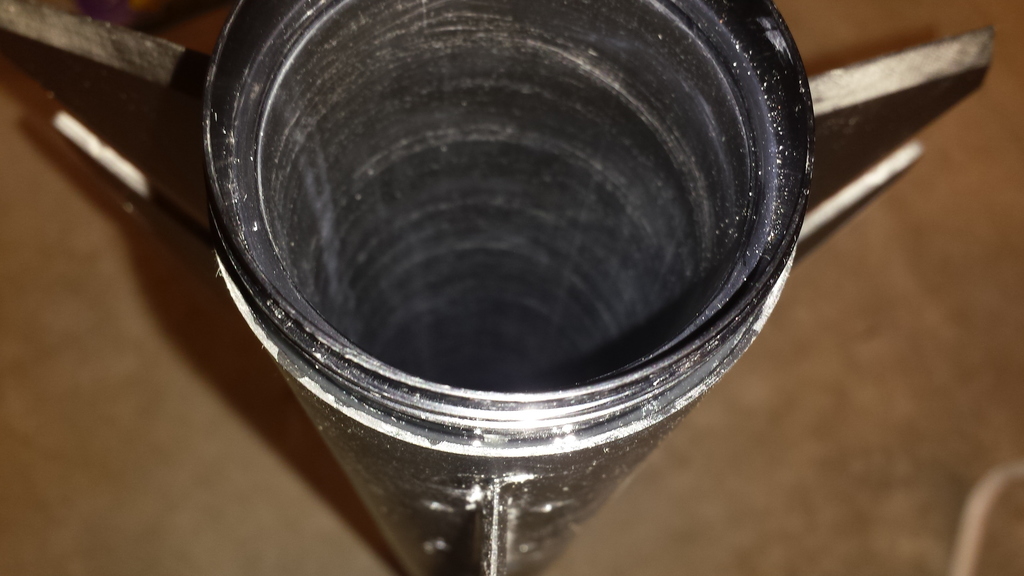
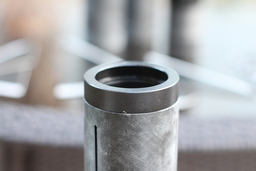
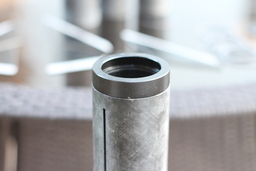
First off i washed the Wildman Darkstar 2.6 kit in the bathtub to get all the stuff off from manufacturing . After that i sanded all the parts with 80 grit to fit. Centering rings to fit the Motor mount and body tube... fin slots.. sides of Centering ring and so on. After that i attached the Aeropack retainer to the motor mount with JB weld.
The next step i kinda hard to do but so important. Basically i want to tack on the CR's to the motor mount with CA glue in the exact spot between where the fins tabs go. I start with the bottom CR next to the retainer. Set the bottom fin on the CR and slide the next CR on on top. Once it's perfect tack it in place and check the fit in the body tube
 |
4 |
After you get that on the money you do the same with with next fins CR's. I like to triple check the fit like a thousand times before epoxying the CR's to the motor mount
Build Notes. The space between the centering rings and the body tube is really really freaking tight. I had to be extra careful not to get epoxy on the CRs' or have have it stick out past the diameter of the body tube. And make sure you don't get epoxy where your fins go!!! I did a test fit and was good to go.
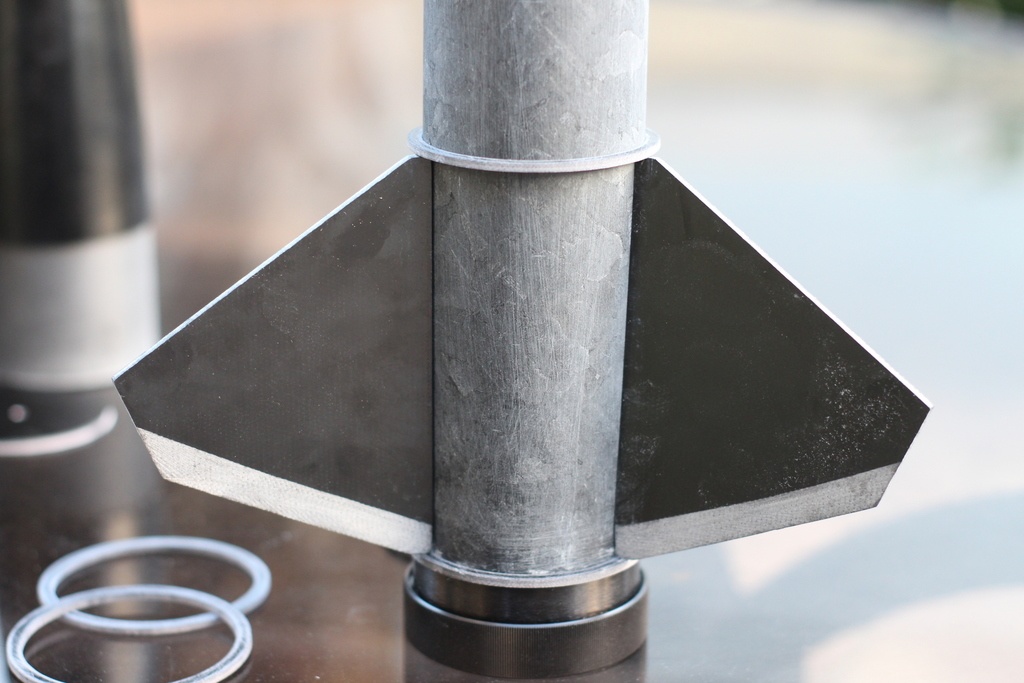
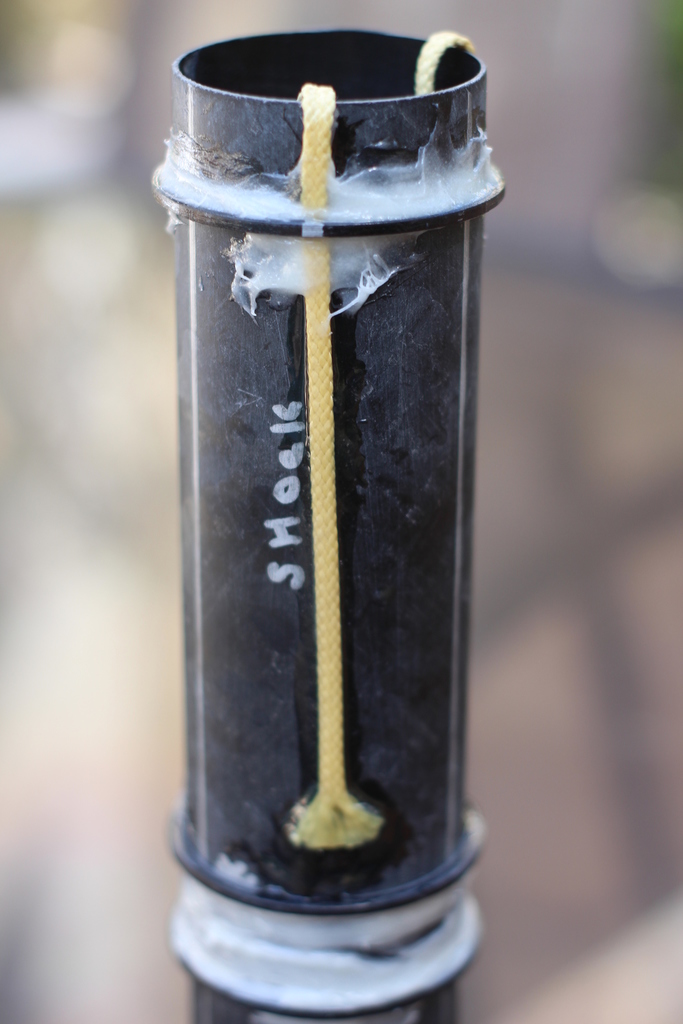
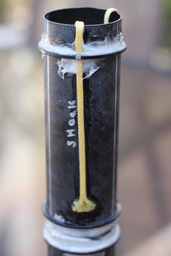
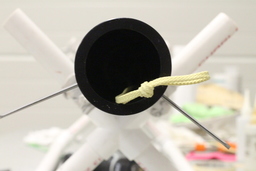
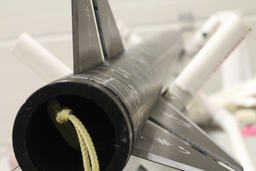
Also for the top centering ring i notched out little grooves for the Kevlar bridle to fit between. I epoxied it on with a paint brush making sure to leave clearance for the body tube
 |
4 |
I also ordered some wooden centering rings to cut up and epoxy to the motor mount for the rear rail button to have some meat to grab into
.
 |
4 |
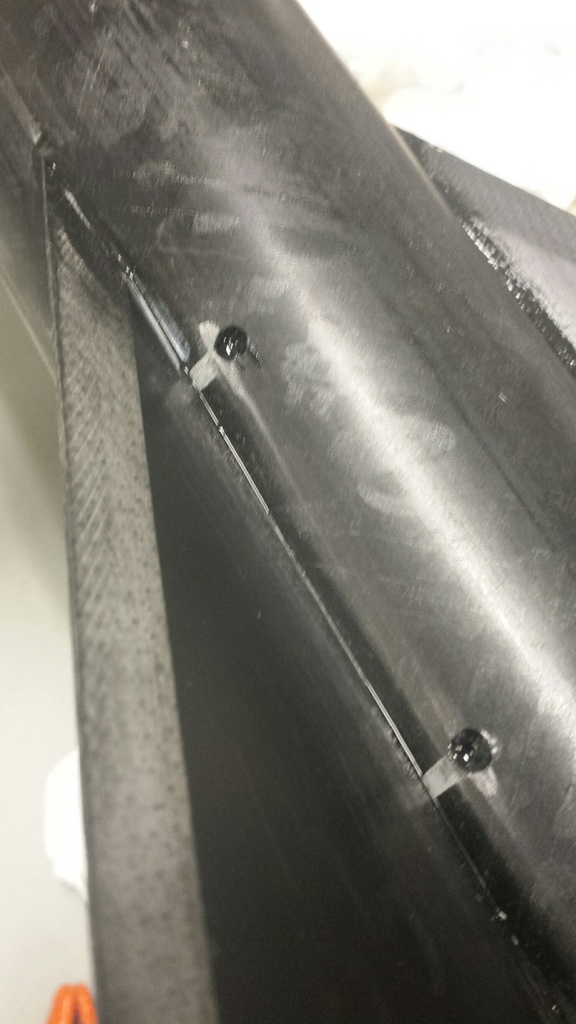
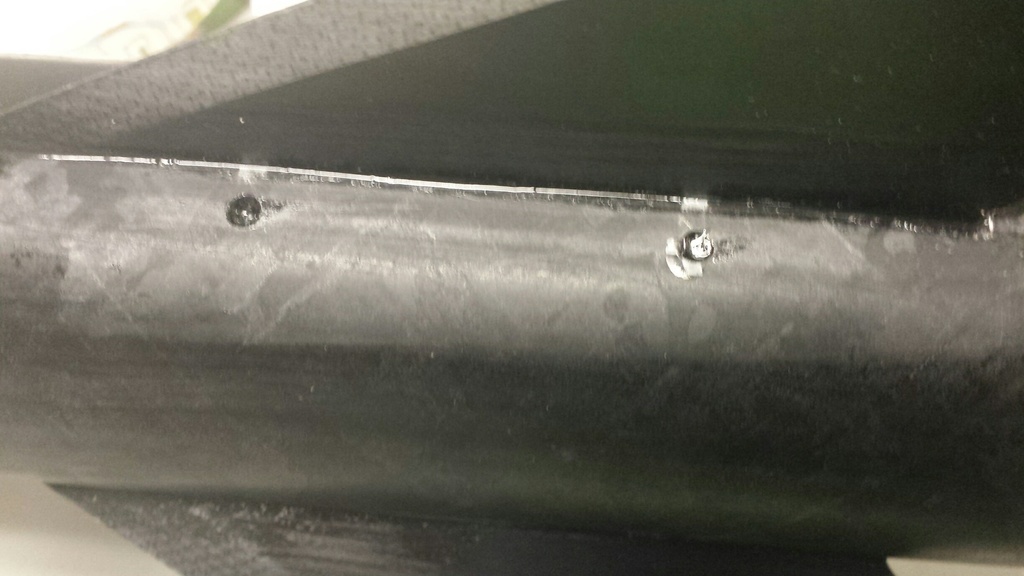
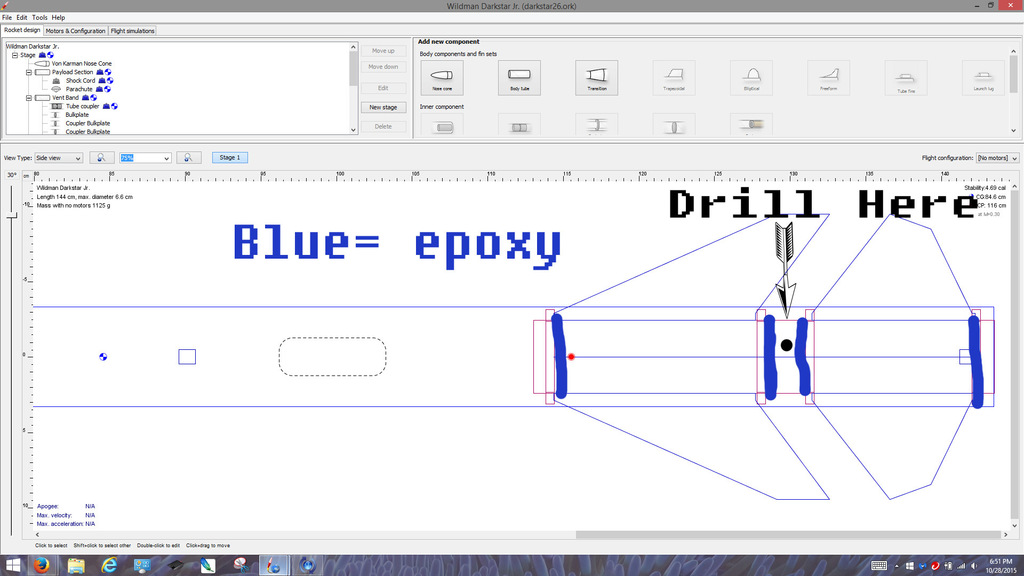
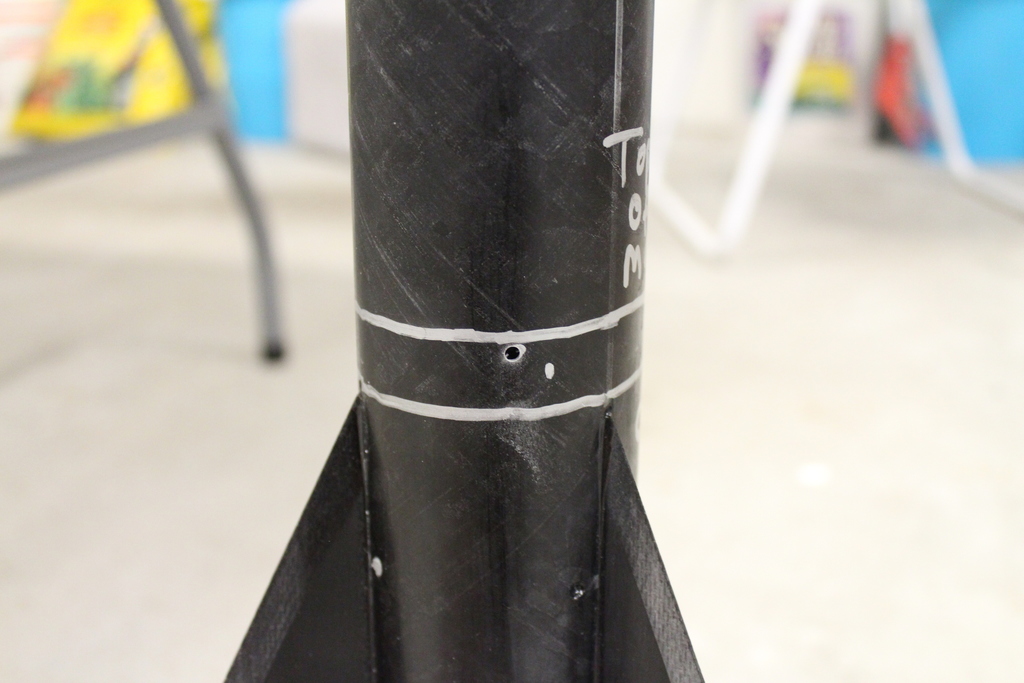
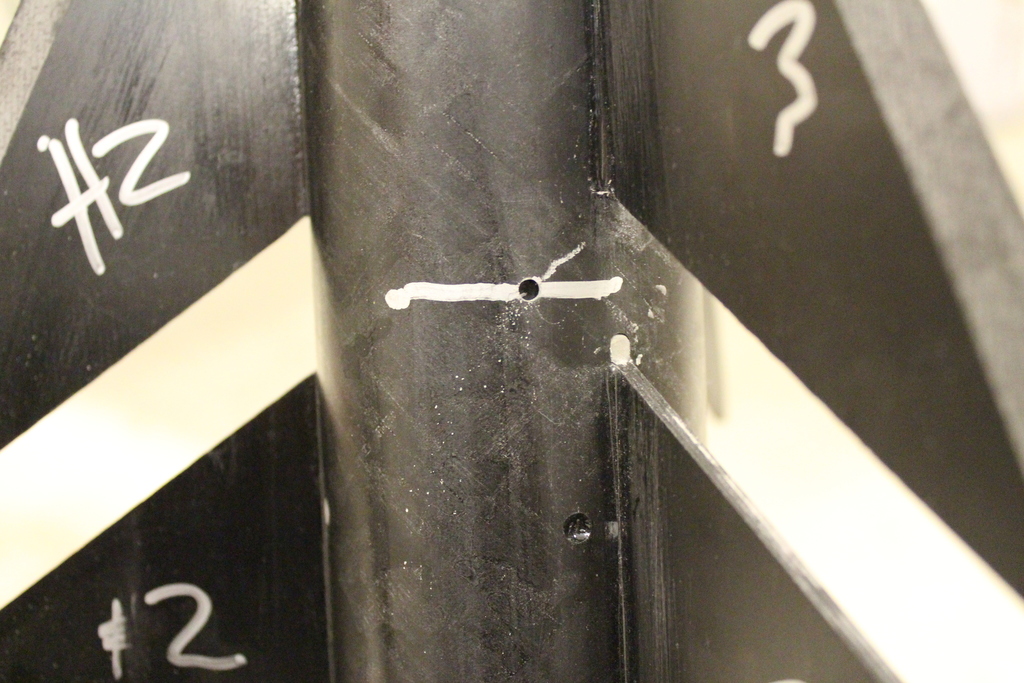
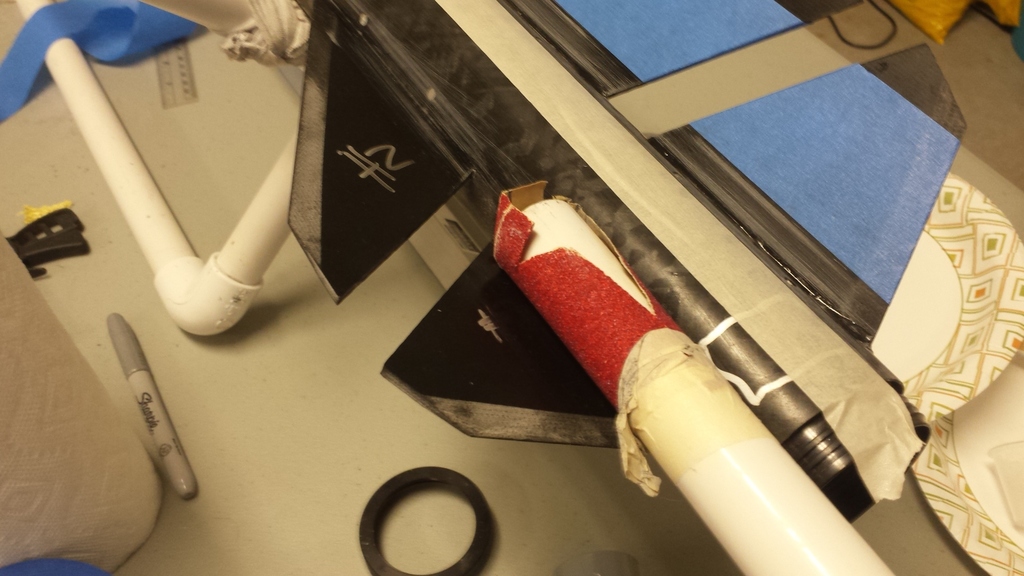
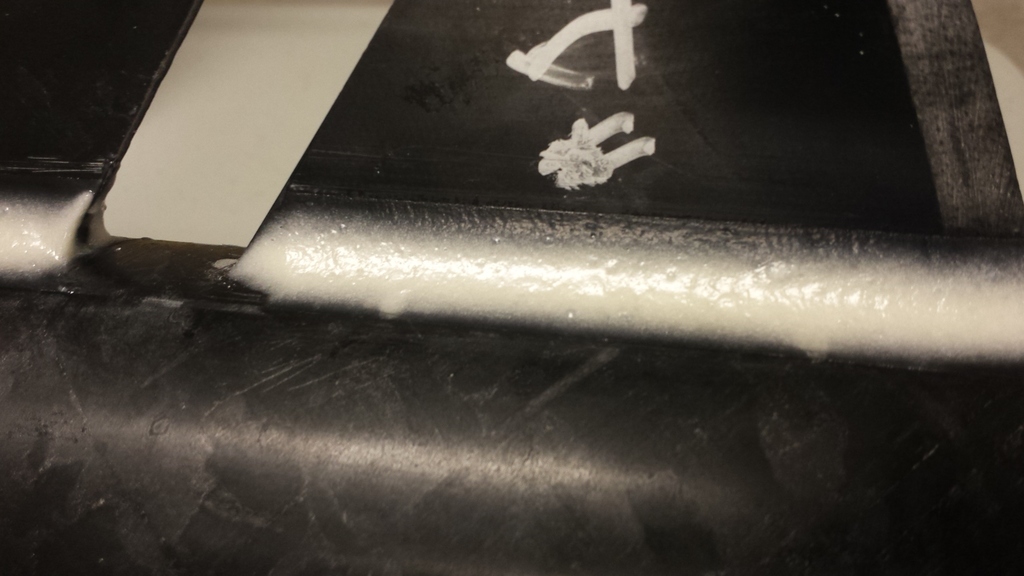
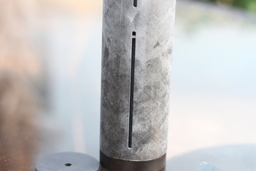
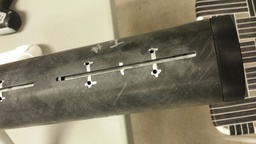
I drilled two 1/8 inch holes 1/4 of an inch away from the fin slots to inject epoxy mixed with carbon fiber after the fins are tacked on. Edit - i had to go a little bigger than 1/8 for the holes so the injector could fit
 |
3 |
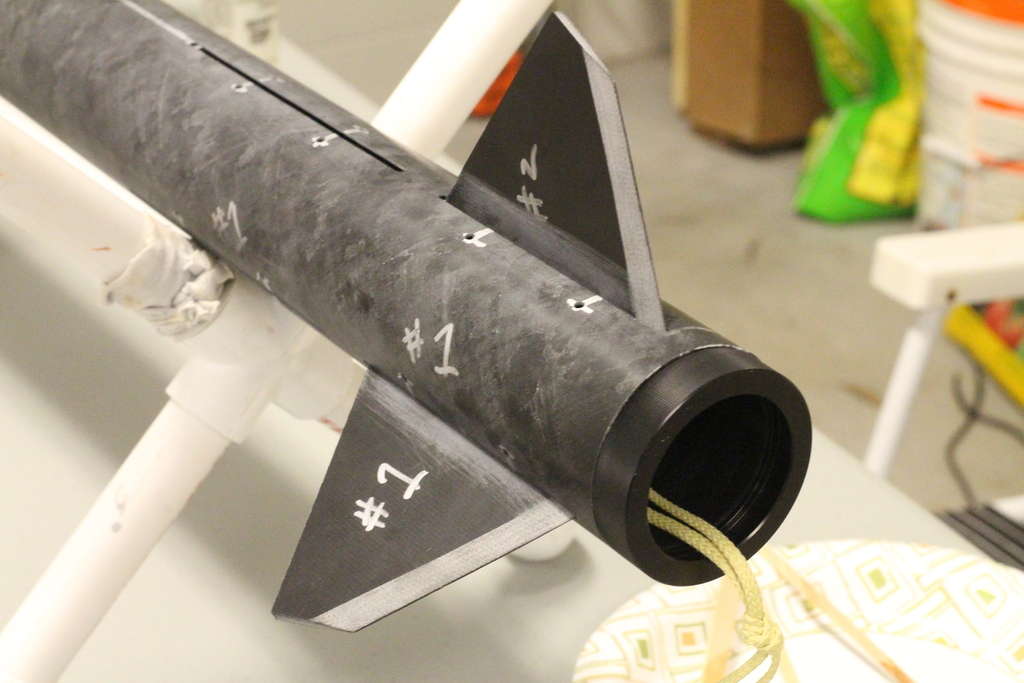
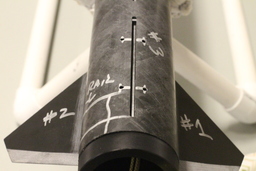
Another fun tip. I hate trying to mark 3 even places around the body tube for rivets, rail buttons . etc Before you build. Stick the coupler inside the booster and use the fin slot cuts to mark the coupler. Now you have a perfect guide to mark other parts ...examples -stick the marked coupler half way in the top of the payload bay and mark the payload bay for sheer pins. Transfer those lines to the nosecone coupler. . I draw all over my builds. it helps me from putting epoxy in the wrong spot
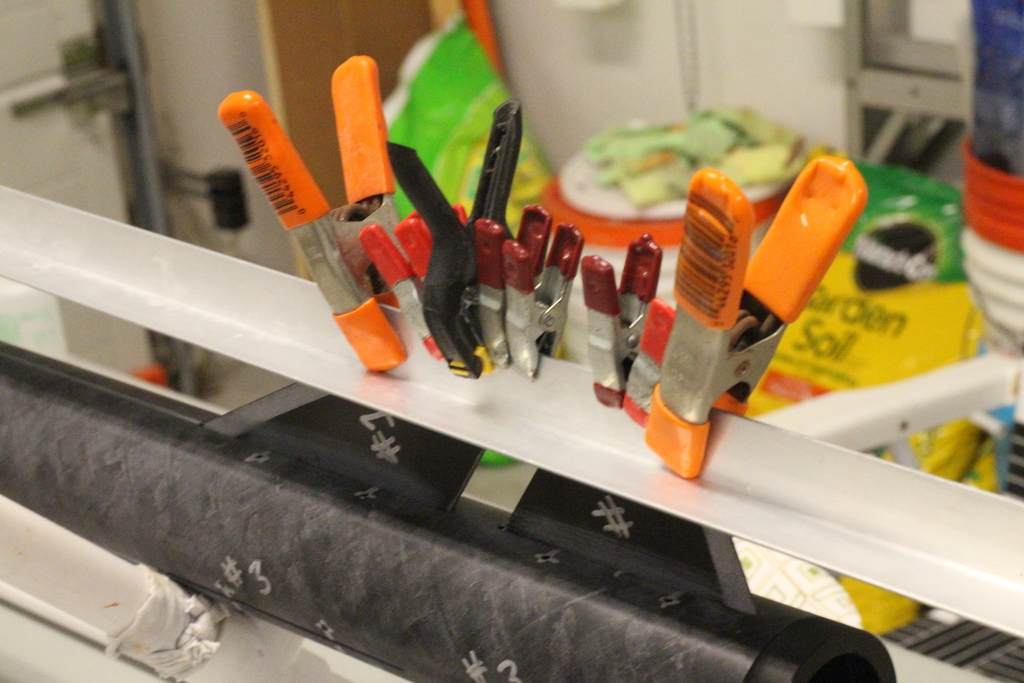
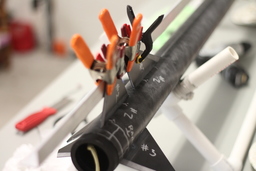
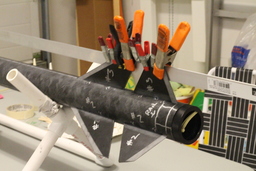
So next Up its time to slide the motor mount in and tack the fins on. I start with the rear fins and do them one at a time. I don't have a fin jig so i eyeball them. One of the things i like to do is use a straight angle bar to draw perfectly straight lines from the fin slots to the top of the payload. This lets me look down the body tube and see if the fin lines up. I use 30 minute epoxy for tacking the fins. West systems takes to long to cure.
Here is the first rear fin put on. Notice its lined up with that line on the body tube
 |
2 |
And Fin # Two
 |
2 |
And fin # 3
 |
3 |
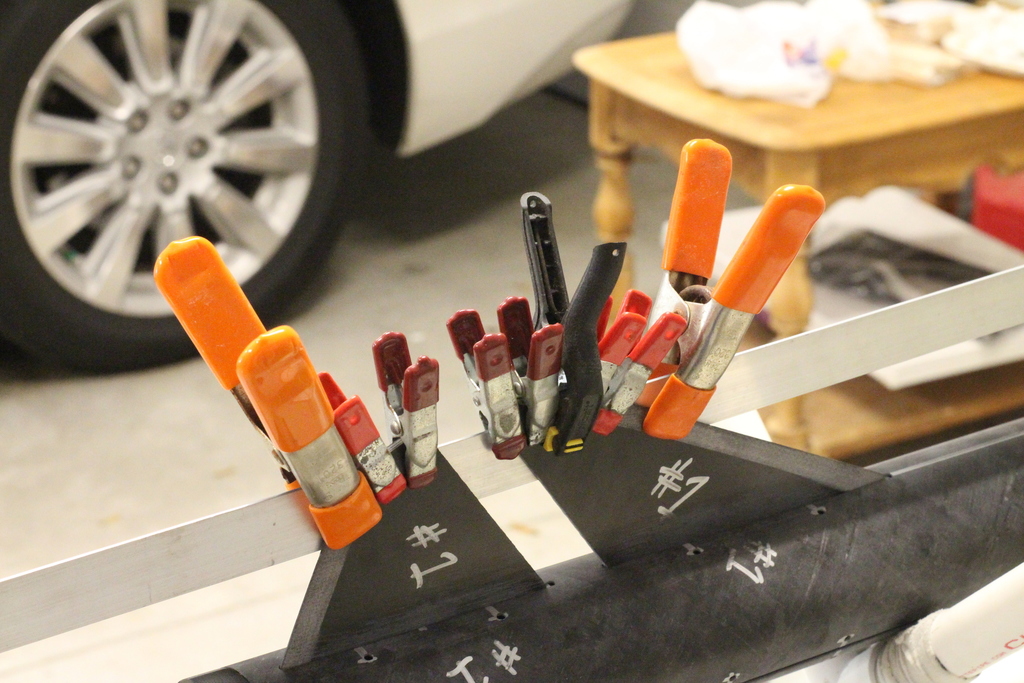
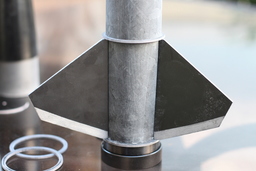
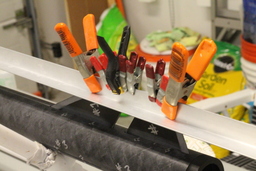
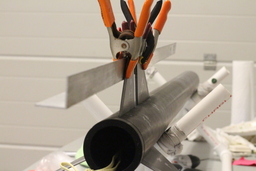
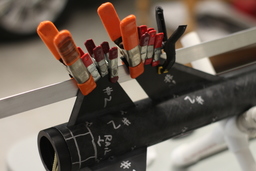
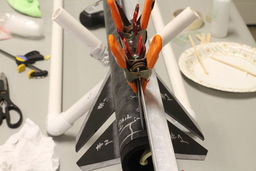
Once the back fins are tacked on, adding the front fins is a snap! The key is making sure they are perfectly lined up with the rear fins. Sounds hard right??? Nope.. all you need is straight angle and some clamps. Once the front fin is in the fin slot just clamp the angle to both fins and BAM! PERFECTLY ALIGNED FINS!!!
 |
3 |
 |
3 |
Repeat on all 3 sides
 |
3 |
 |
3 |
 |
4 |
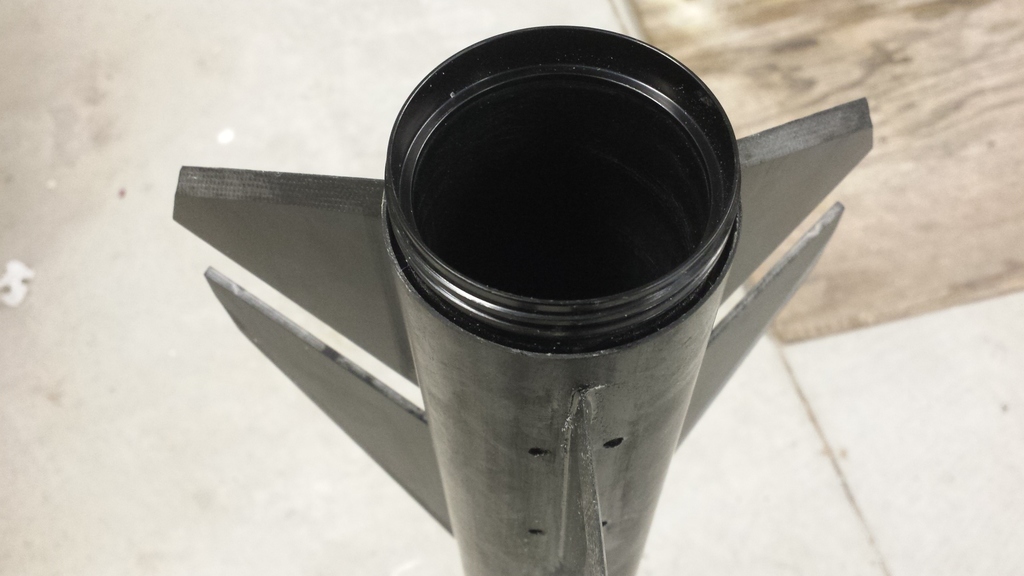
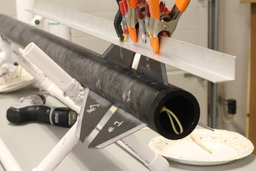
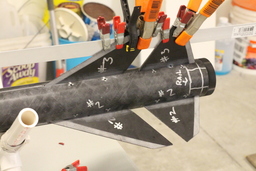
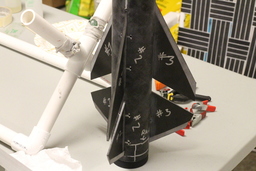
All done
 |
3 |
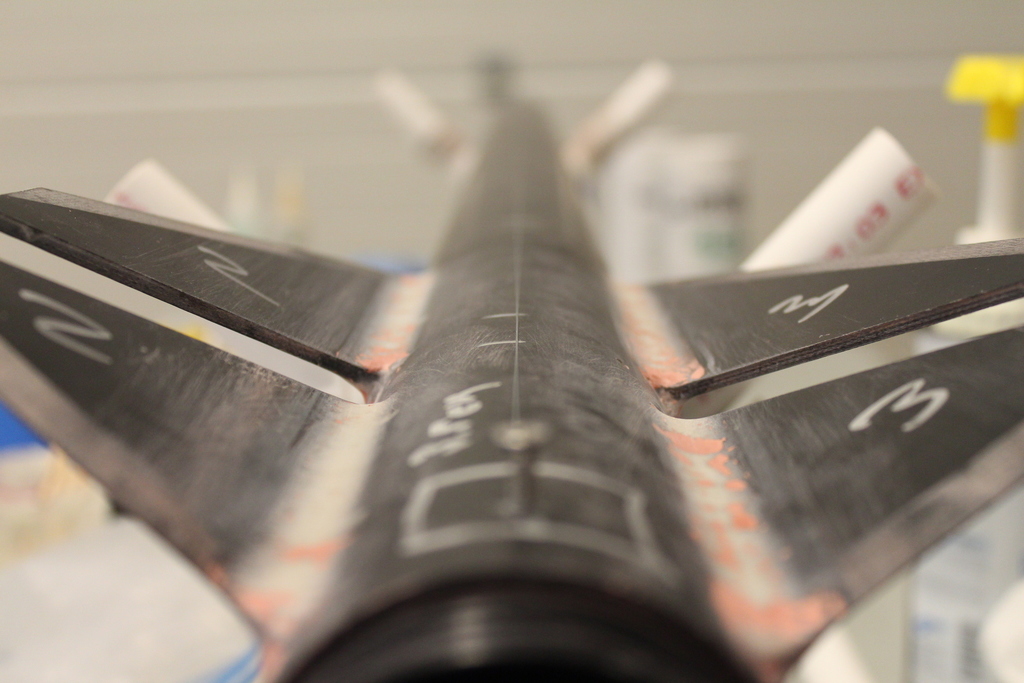
And perfectly aligned
 |
4 |
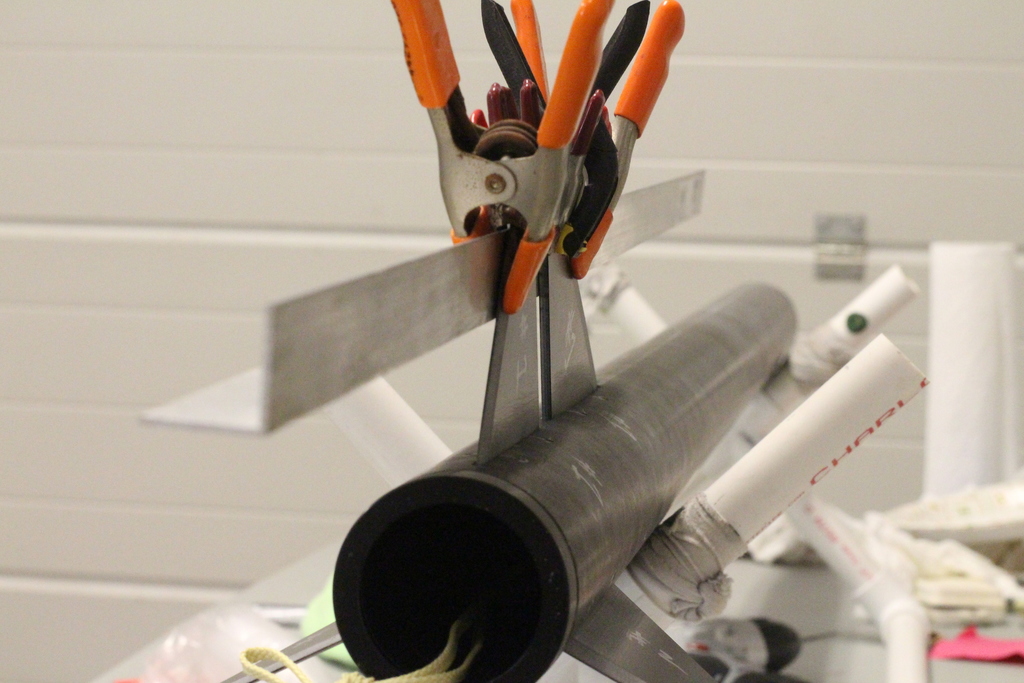
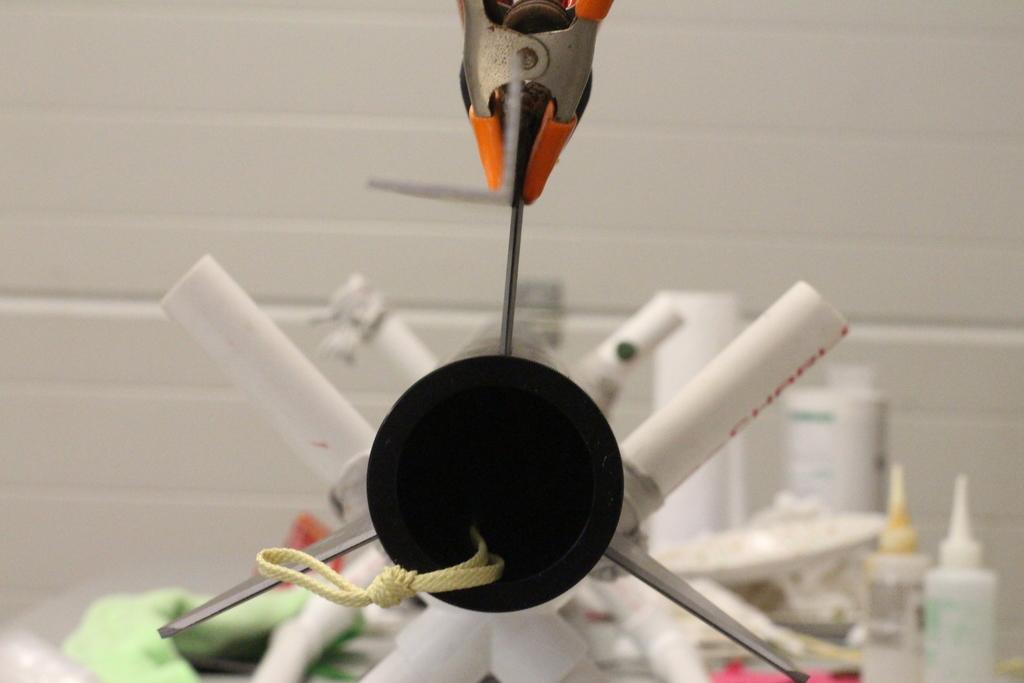
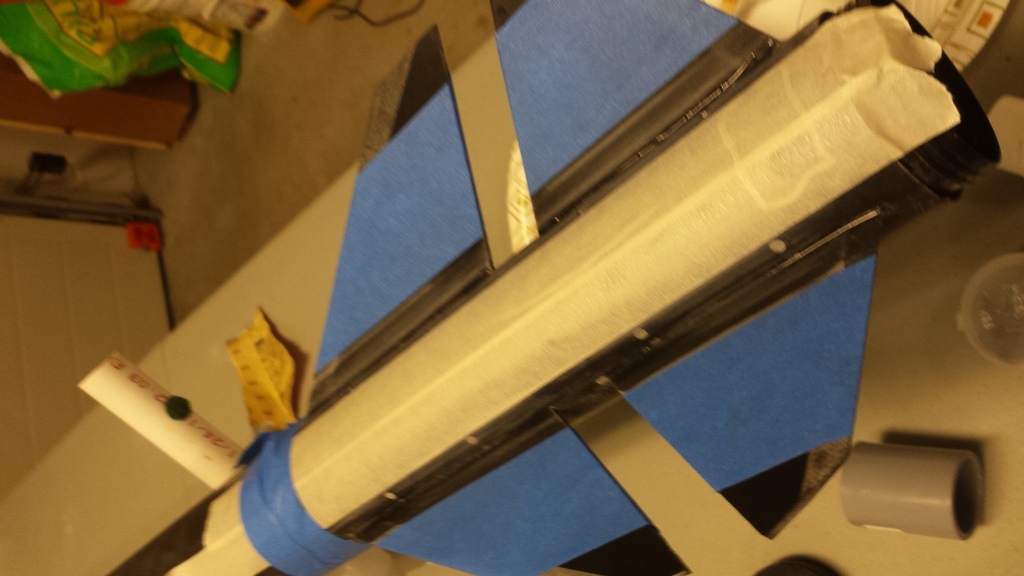
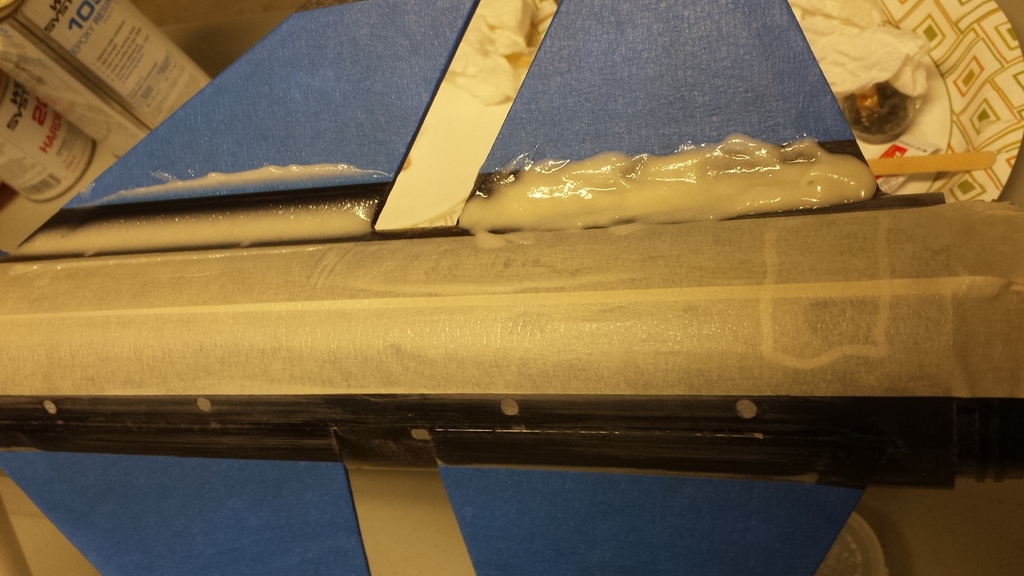
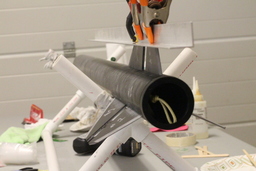
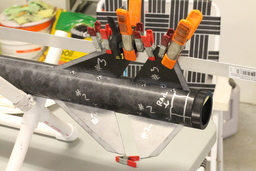
Next step is to inject epoxy into the body tube and onto the fin tabs. I use west systems with chopped up carbon fiber
So I did some injections on my lunch break today and I made a freaking mess!!! i knew i had to go light on the injections but didn't realize how quickly it would fill up.It was like the crying virgin Mary ... epoxy coming out of the fin slots!!!  ....it's OK.... i think i got it all cleaned up. RIP paper towel roll NO pics because i had my hands full.
I like to tape up the holes on the bottom the rocket while i inject the top ones. This prevents a big mess if the epoxy breaks through between the fin tabs and the motor mount
 |
4 |
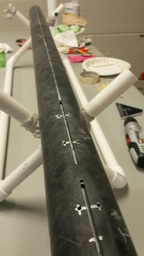
Here is a pic of the injections in progress
 |
4 |
You can see that most all of the space between the body tube and the holes is filled to the brim. Side note... i added some colloidal silica to the epoxy along with some cut up carbon fiber. My thought was to help prevent the Virgin Mary tears =) 
 |
4 |
 |
4 |
Simply repeat the processes on the other 2 sides waiting for the epoxy to cure between injections. 
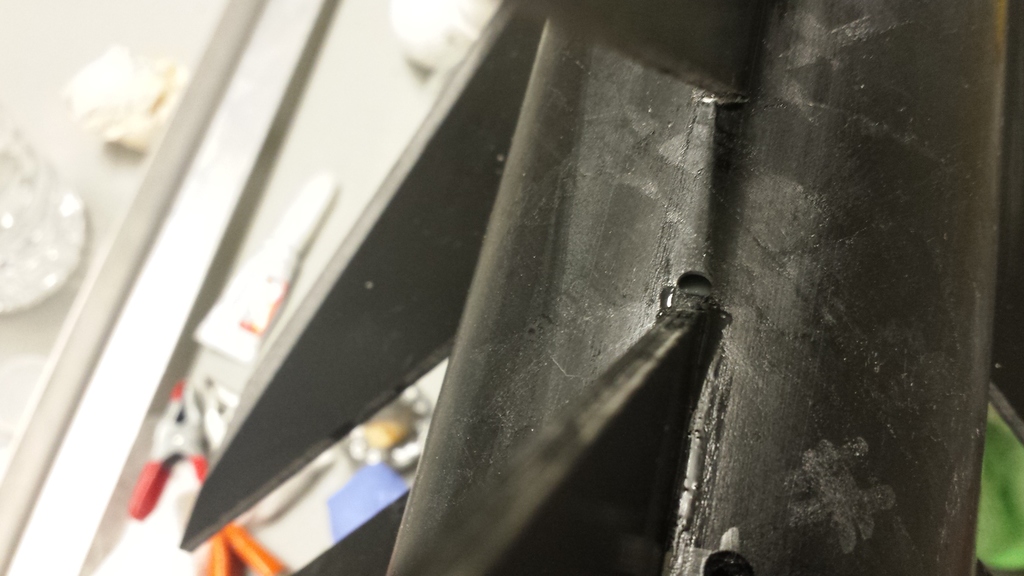
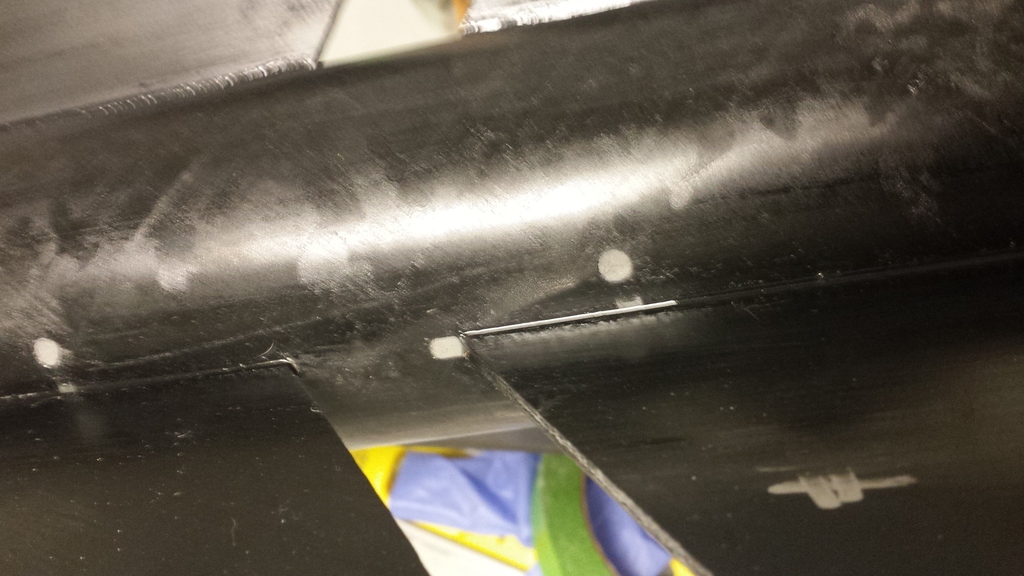
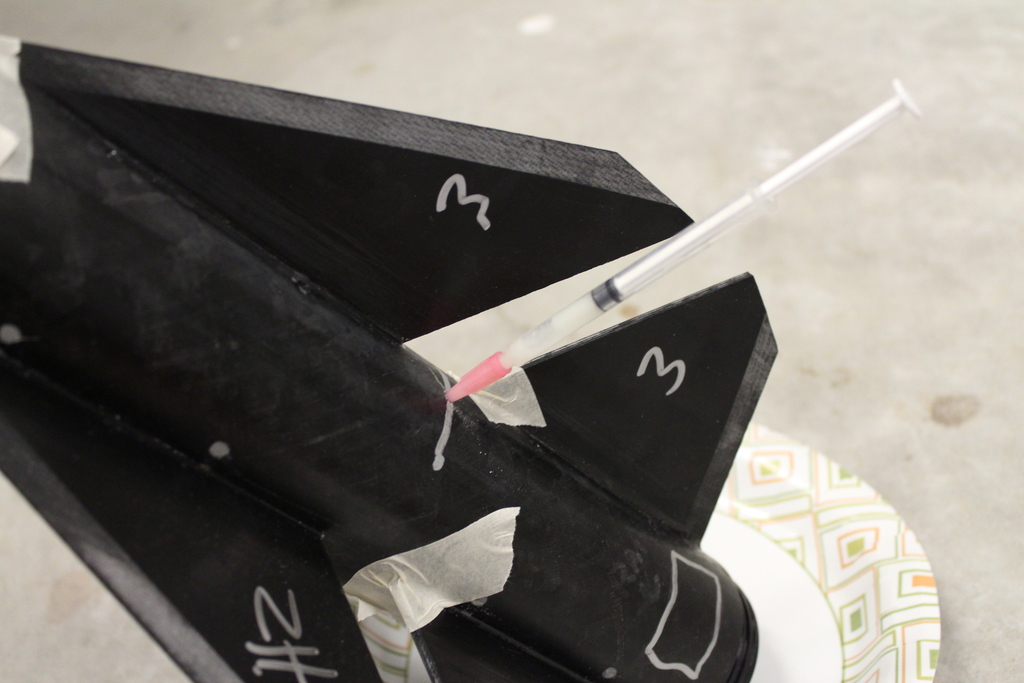
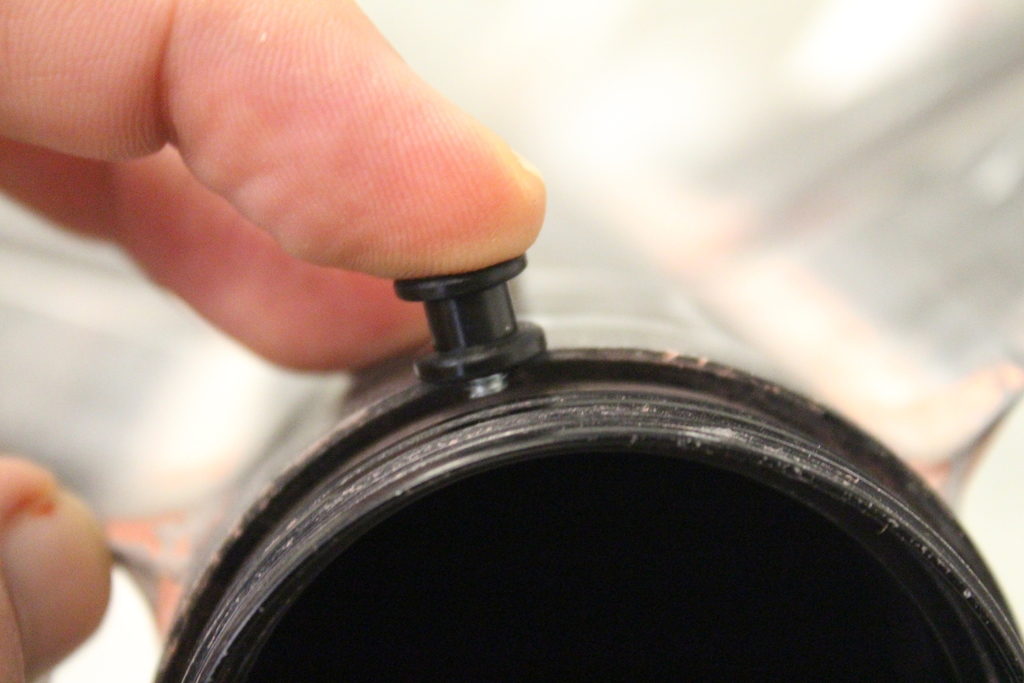
So right now i have been thinking... How the heck am i gonna get epoxy on the bottom CR and retainer?????? The space between the body tube and retainer is insanely small .
Check it out. Yikes!
 |
3 |
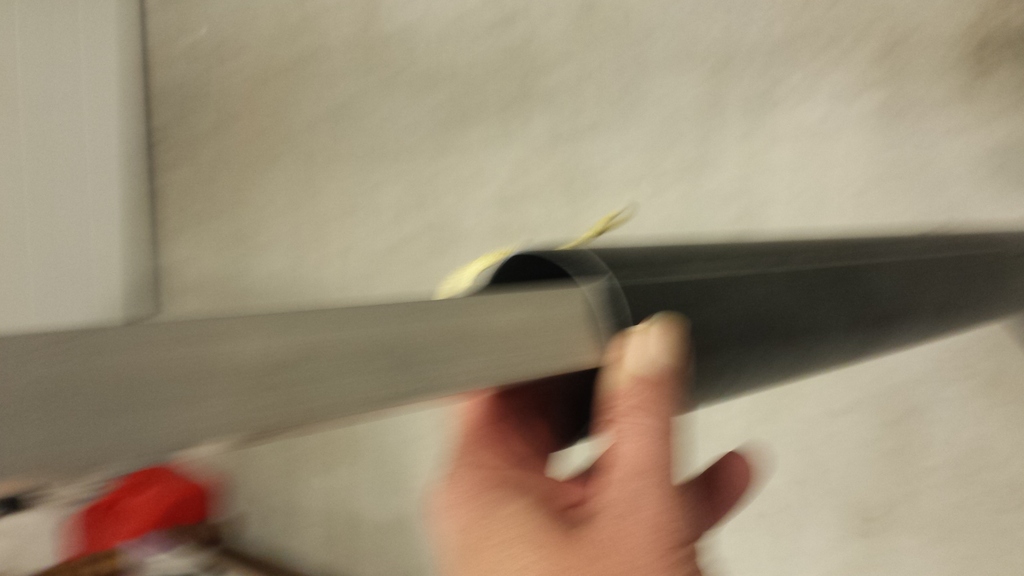
So here's my plan... I found a old tiny syringe that i used for testing the water on my reef tank. If i cut the tip a little i think it will work. I will tape up the retainer threads really good..... because getting the epoxy on those would be about the worst thing i could do.
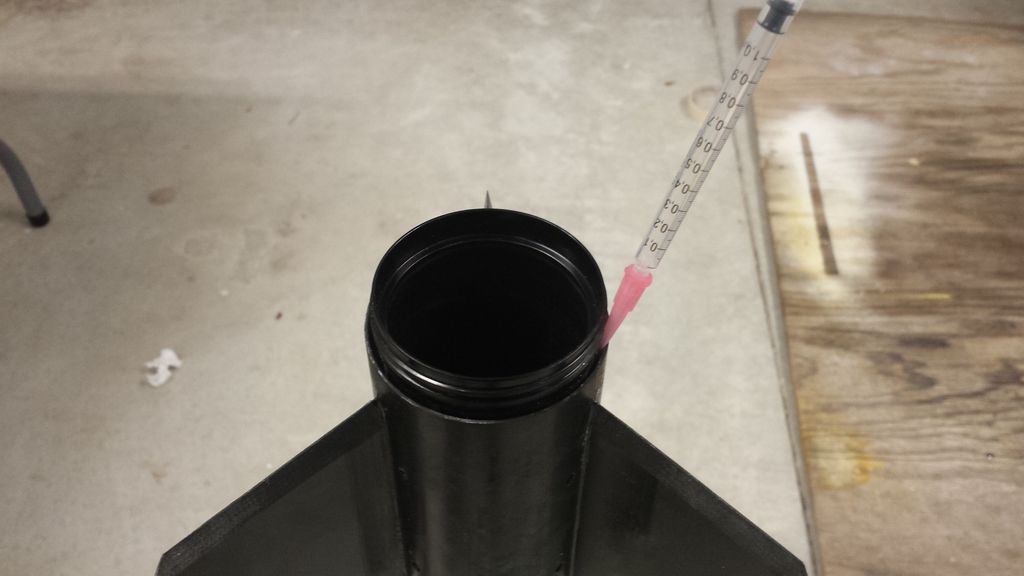 |
3 |
OK.... Here we go
I taped up the threads really good and used a latex glove to protect the inside of the motor mount
 |
3 |
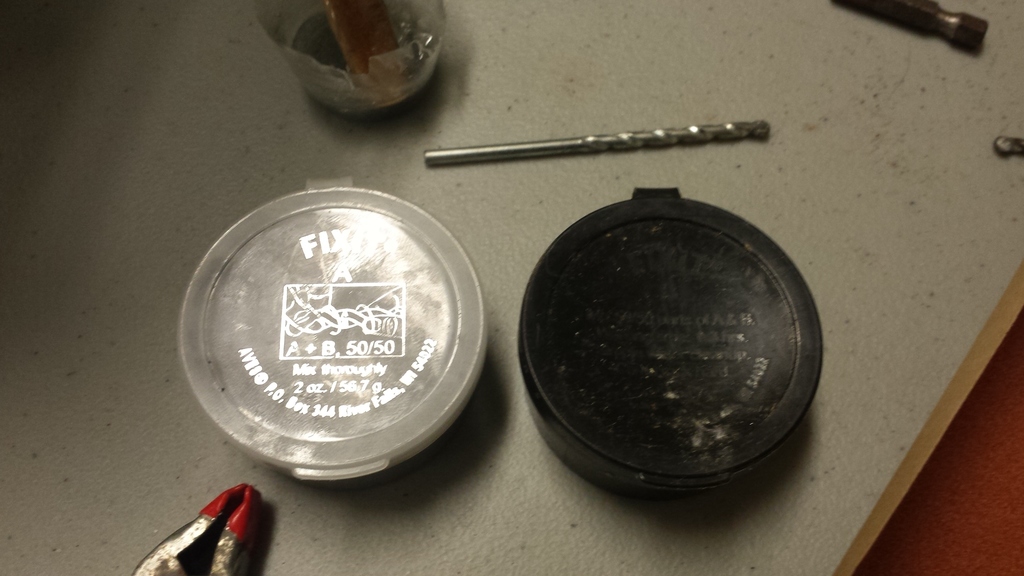
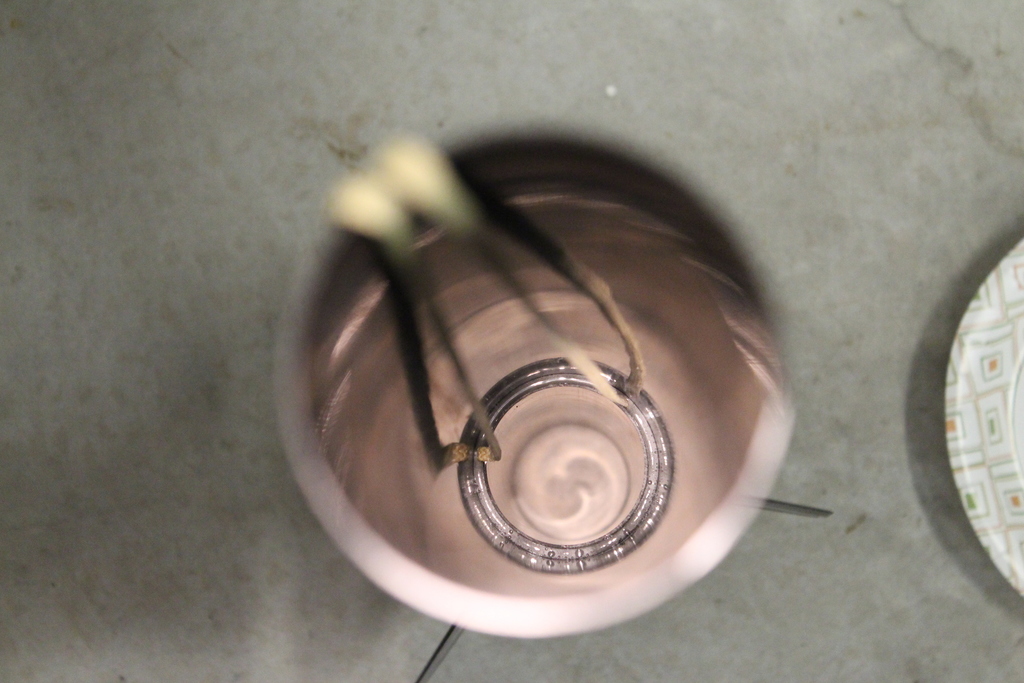
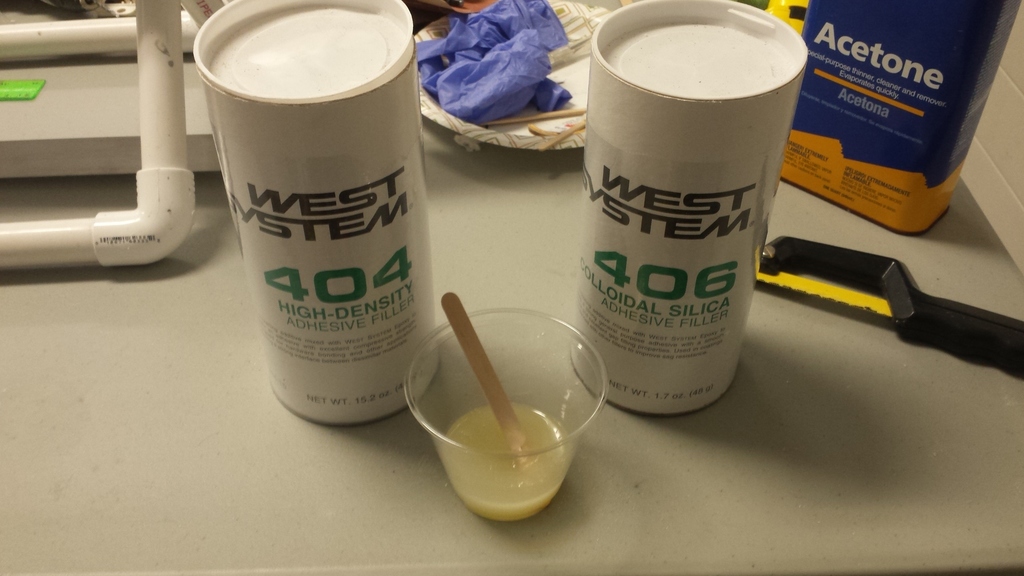
I added some thickeners to the west systems epoxy and sucked it up in the syringe
 |
2 |
Please dont make a mess
 |
3 |
YES!!! all done 
 |
3 |
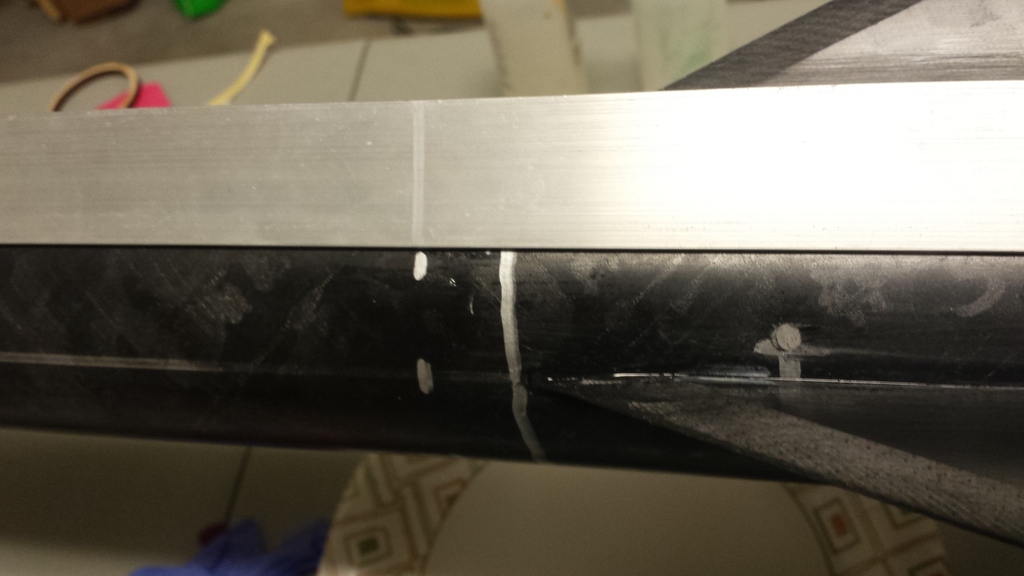
So.... I'm a little worried about the bond of the centering rings inside the body tube. 54mm motors are no joke and the almost minimum diameter didn't allow me to get fully line the CR's.... SO - My plan is to drill a hole in the void between the middle centering rings ...I will do two injections to give me at least 4 fully ringed epoxied centering rings. I tend to overbuild... but i don't care about those few extra ounces for some piece of mind.
 |
3 |
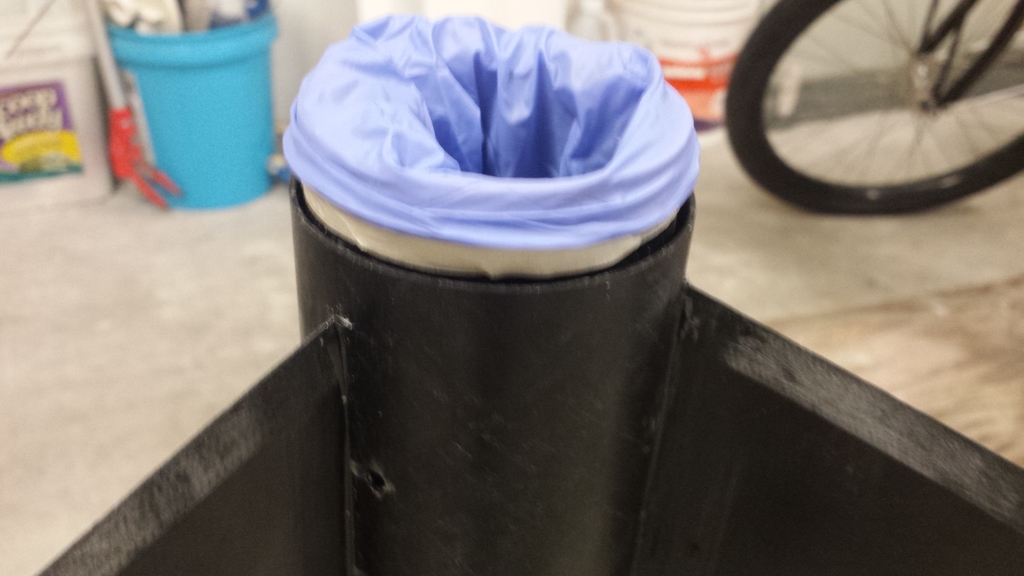
So today i didn't get much done... BUt what i did do is some gap filling
As you can see i have some space that could cause leaks when i inject on the top of the second Centering ring
 |
3 |
So I mixed up some epoxy clay
 |
2 |
After mixing the two parts i smashed a little bit in the hole... and used a exacto blade to remove the excess
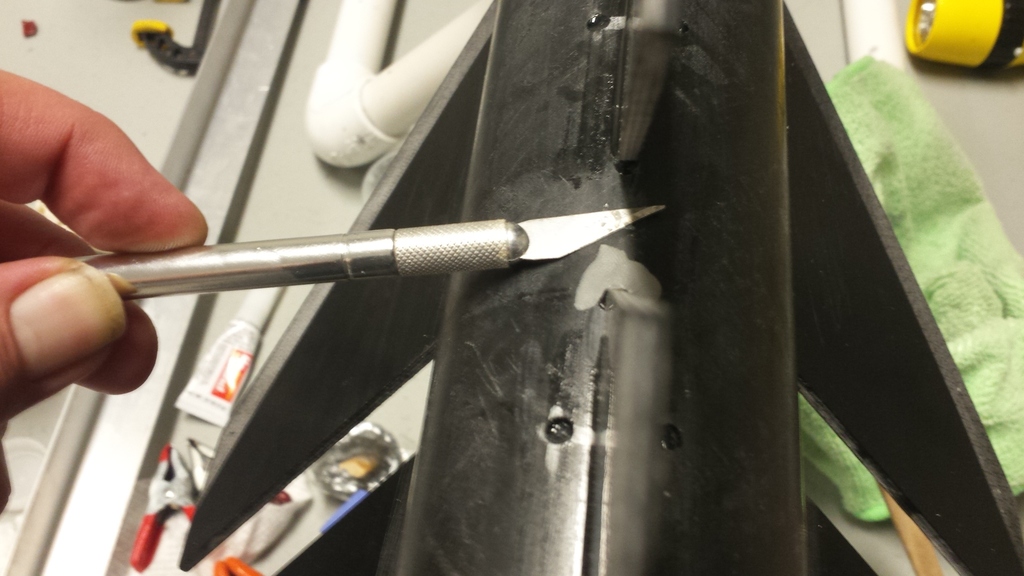 |
2 |
While i was at it... i decided to fill the big holes from where i did the injections. On my last rocket i had those holes suck in some epoxy when i did the fillets ... it left a little indent and i hated it. OCD much?
Here they are all filled up
 |
2 |
After that i decided that i am gonna drill a hole above the top CR for injections there. The thing is i need to mark where the top of the motor mount is so i can drill in the perfect spot/ What i did was stick the metal angle in body tube until it hit the top of the MM. I marked that distance on the angle and marked that spot to the outside of the body tube.
 |
3 |
 |
2 |
Now it's all set up to drill
 |
2 |
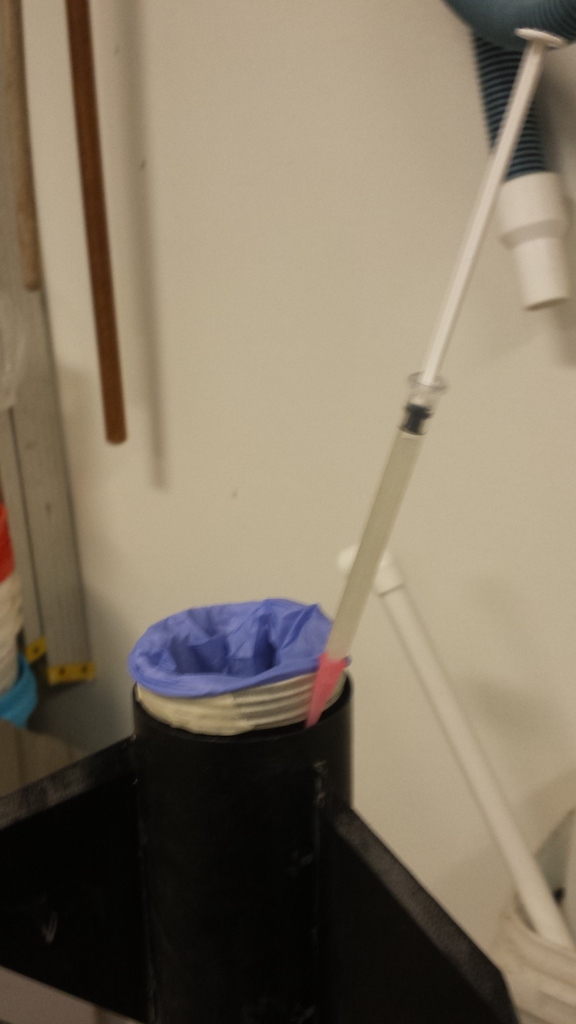
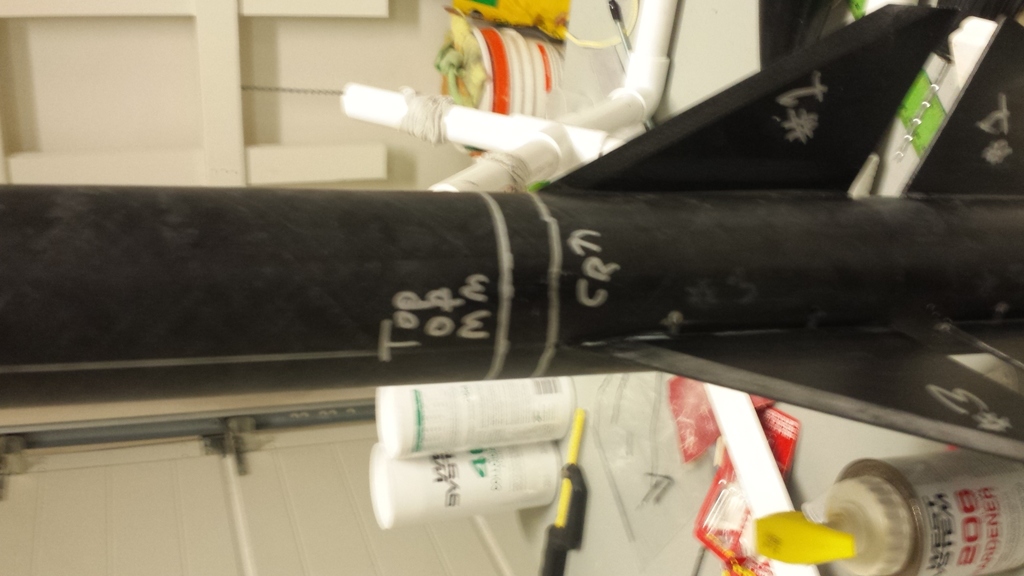
Today i drilled the holes for the top CR injection and the middle of the fin centering rings
 |
3 |
 |
3 |
I injected the lower one first.... that way i could tilt the rocket and let the epoxy go all the way around the CR... If i did the top of the motor mount and tilted it i was risking getting epoxy in the motor mount.
 |
2 |
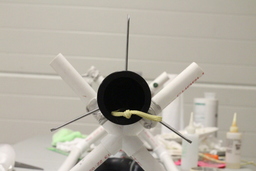
When doing the top CR on the motor mount i taped the Kevlar bridal out of the way and used a flashlight as i injected to make sure i wasn't going over the lip of the motor mount. All went well =)
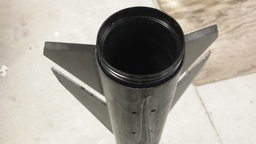
Here is a shot looking down the body tube
 |
3 |
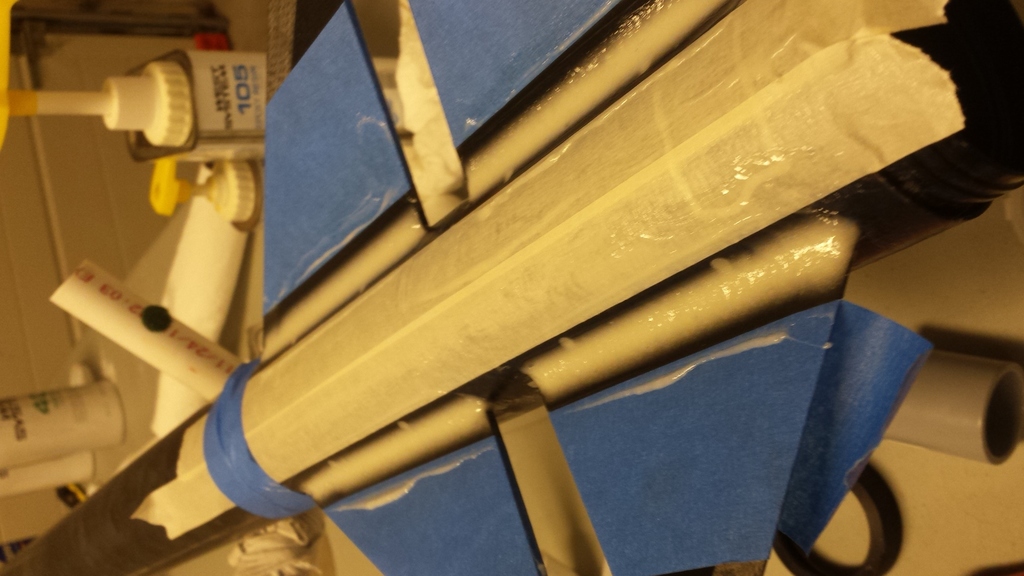
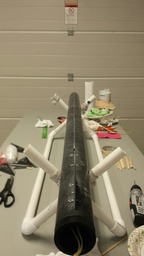
Today i started on the fillets. I decided that a 1 inch pvc pipe looked like the best fit for forming the design.
 |
2 |
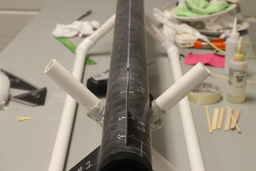
I covered the pvc with some sand paper to help mark the lines where the epoxy should stop. I used those marks to tape off the body tube
 |
2 |
 |
2 |
I mixed 2 pumps of West System and fillers until it had a peanut butter consistency
 |
2 |
I fill the gap between the tape and slowly drag the pvc pipe over the epoxy. I always need to make a few passes to get it right. Have lots of paper towels handy and wipe off the pvc pipe between passes
Fin on left done... fin or right before pvc
 |
2 |
Repeat on other side and remove the tape before the cure!
 |
2 |
 |
2 |
Looks good to me =)
 |
2 |
Repeat the same on the other 2 sides
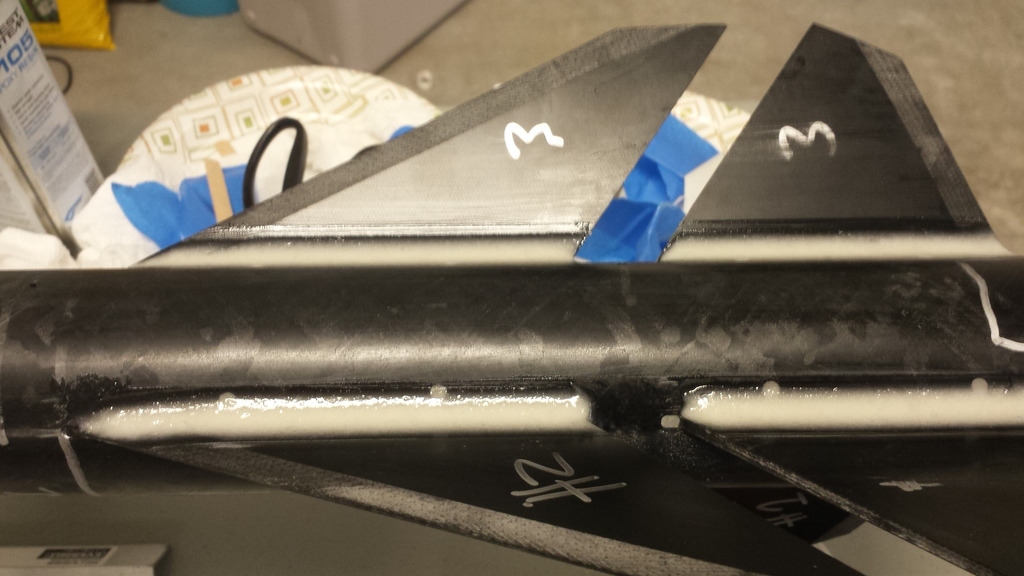
After the epoxy cures i sand off any thing epoxy that got where it wasn't supposed to go. Like tape lines and such... and i sand any high bumps down a little. But as you can see there are little dips and bumps that dont look very good.
 |
2 |
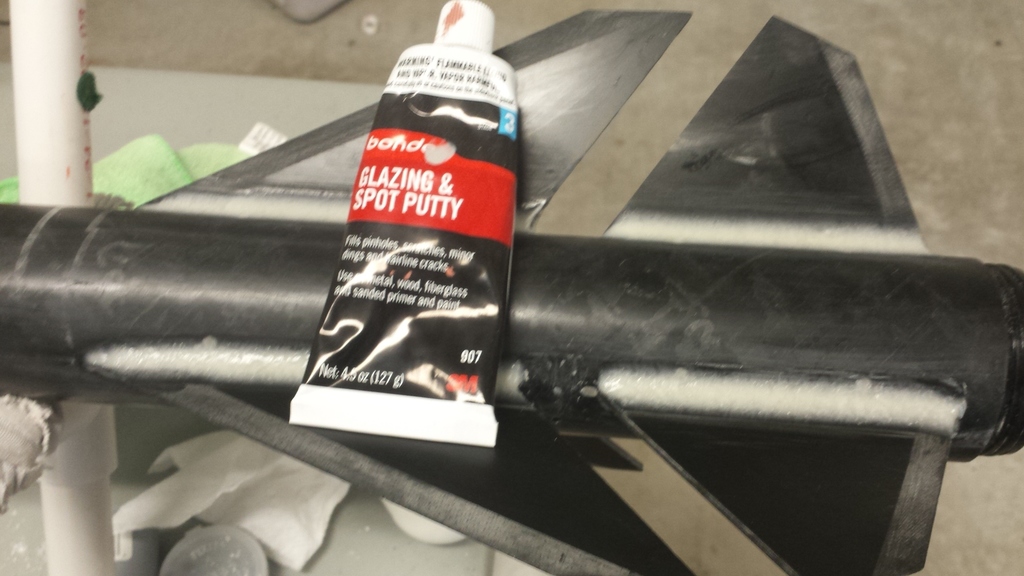
I fill these bumps with Bondo Spot Putty
 |
3 |
I like to go really thick when i do this and rub it in the tiny holes really good. It sands off really easily so I'm not worried. Don't go thick if you use regular Bondo. That stuff is a PITA to sand.
 |
3 |
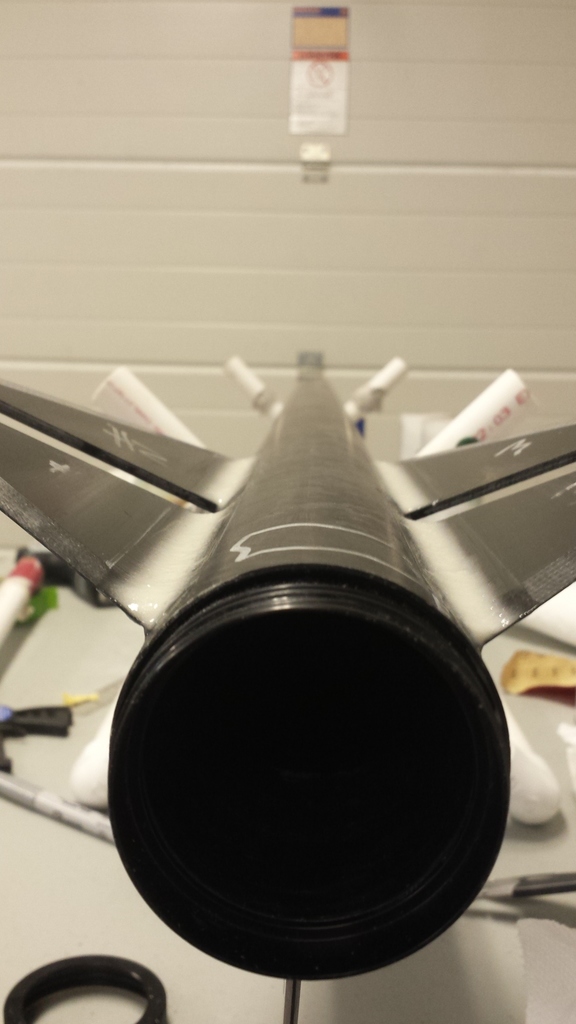
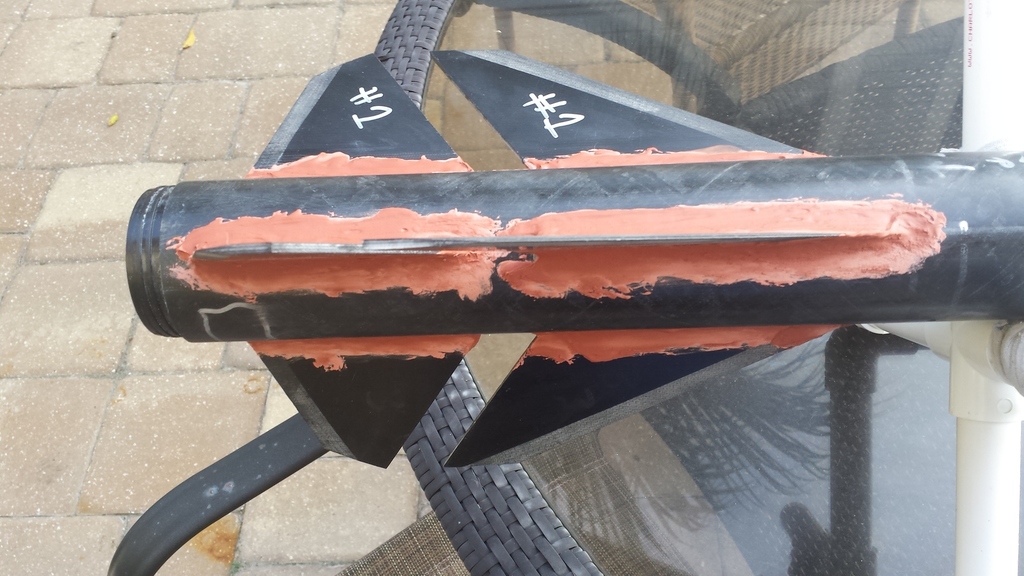
I sanded off the Bondo and it helped a lot! There are still small imperfections but i am gona call it quits ... it's a rocket... not a piece of art =)
 |
3 |
 |
3 |
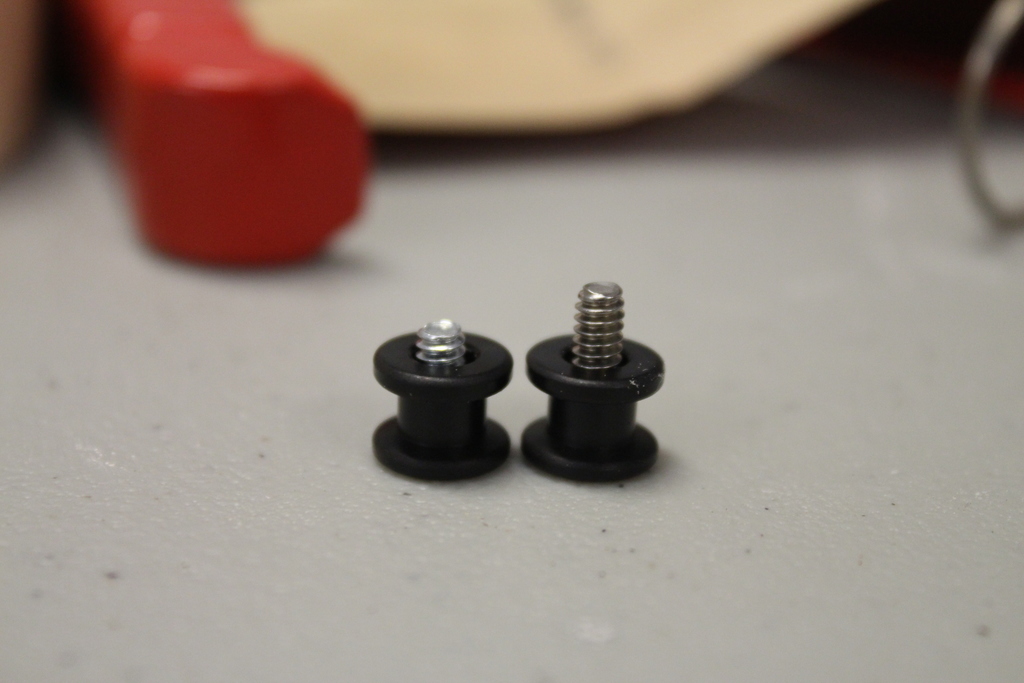
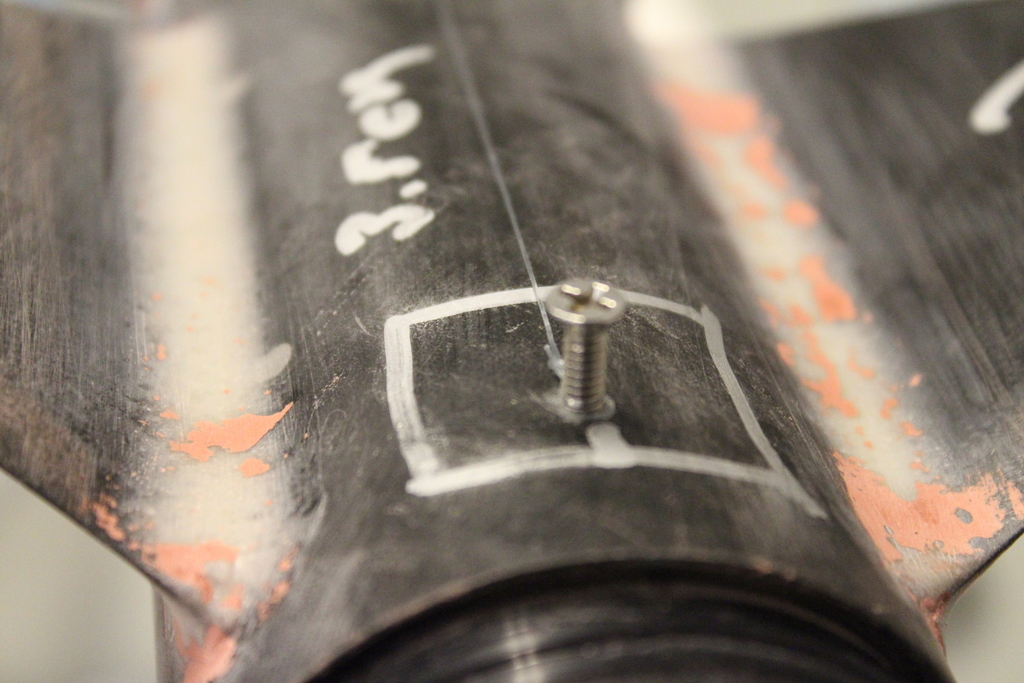
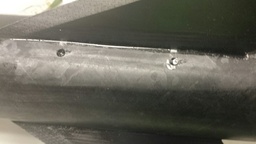
So Today i decided to try to do the rail buttons. I Quickly noticed that the amount of threads going into the wood was really scary. After a talk with my rocket buddies we came up with a plan. Get a longer screw and go.... ready..... INTO the Motor mount! I hope this goes well =)
 |
3 |
 |
3 |
My drill ran out of juice so i will get back to this soon
I have always hated trying to draw a line for the upper rail button. I really want to to be exactly lined up with the bottom one... And today i came up with a new method !!! What i did was put the screw for the bottom rail button in the Body and tied some fishing line onto the screw. Next i stretched the line to the exact tip of the nosecone and BAM!!! a perfect guide for lining these bad boys up =) Hope it works as good as i think it will =)
 |
3 |
 |
3 |
Its kinda hard to see here you go =)
 |
3 |
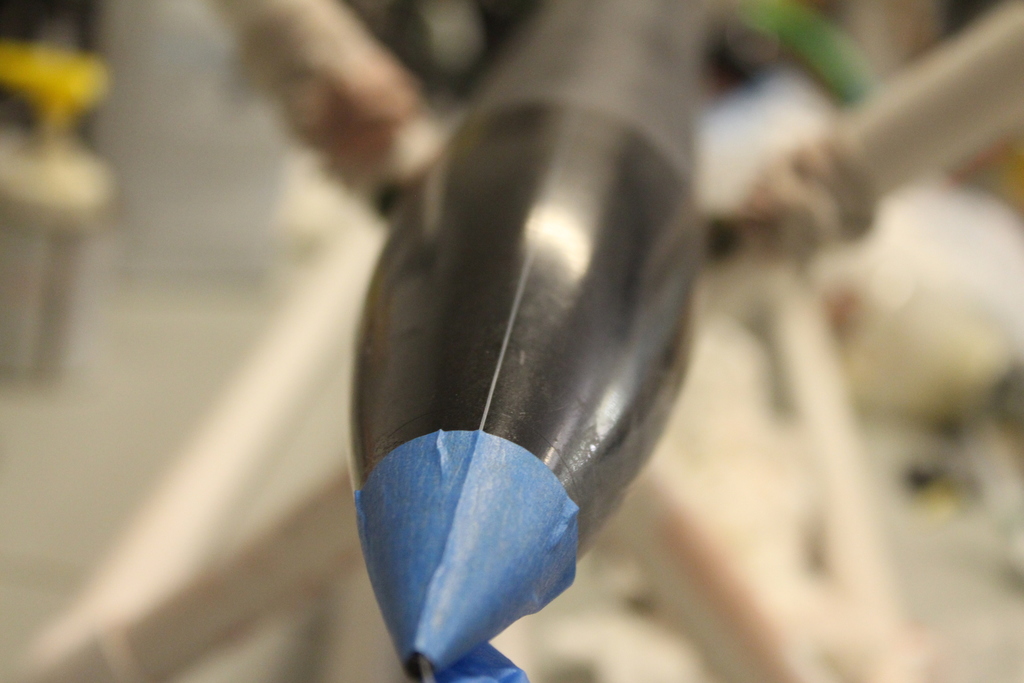
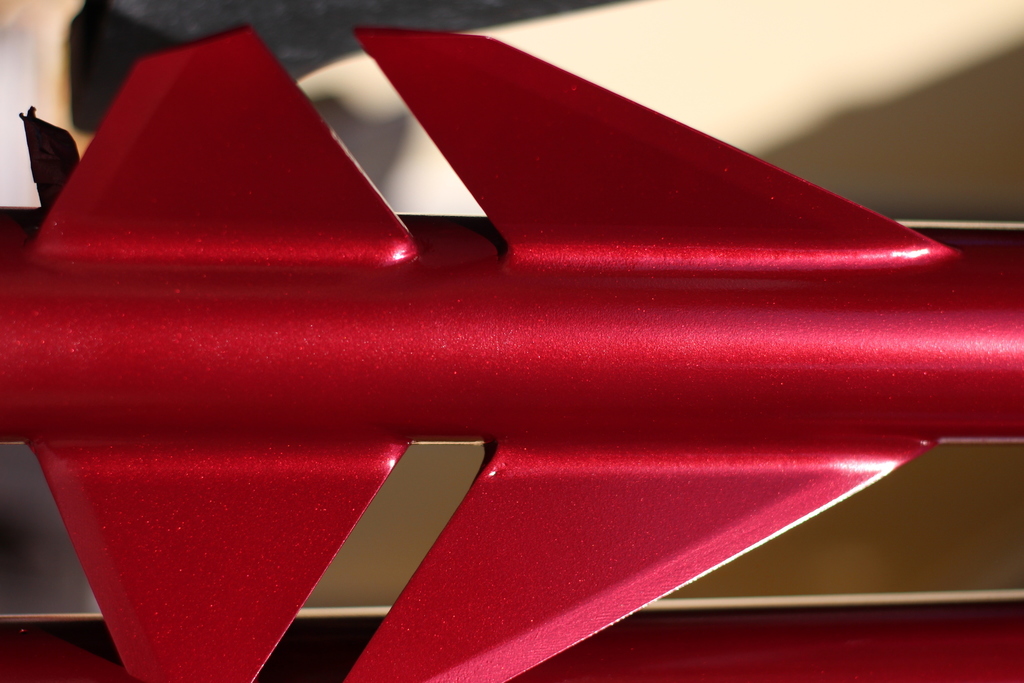
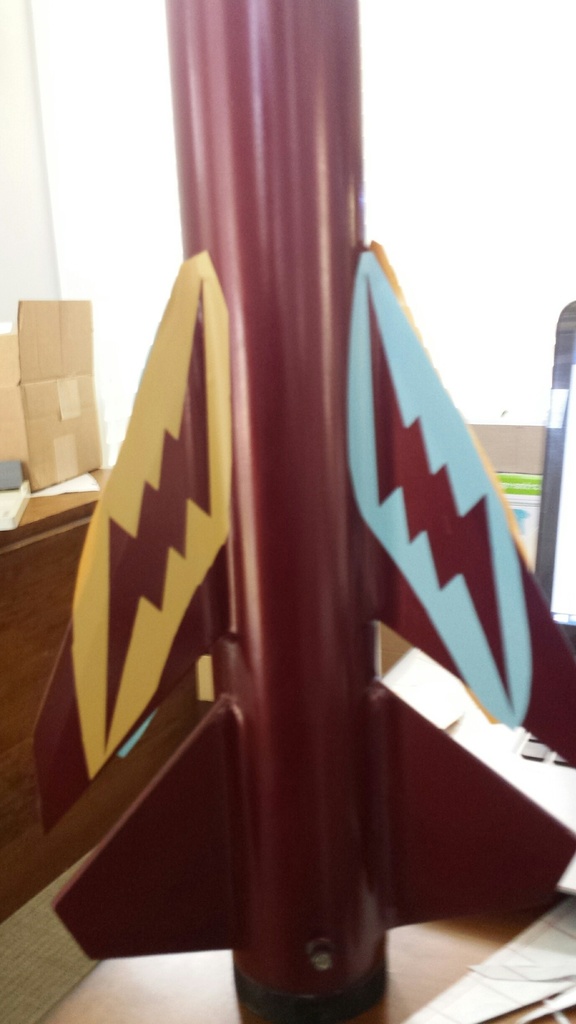
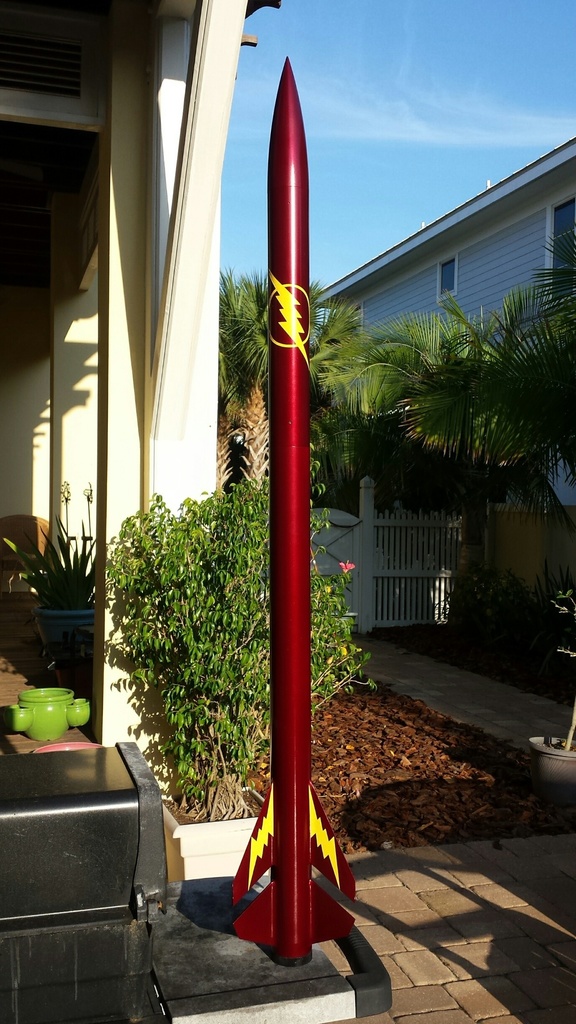
After primer it came down to picking some paint. Jason a good friend of mine had used Dupli-Color Perfect match auto paint on one of his rockets and i loved how it came out ....so i decided to give it a shot. I had thought about using it before but i saw the word lacquer and that scared me... I wanted to go with the more modern TV show Flash colors so i bought Merlot Metallic. When the cans came i was a little scarred that the color was too dark... but after 3 coats i fell in love. In the shade it looks like red wine... but in the sunlight it comes alive with awesomeness.
Take a look
 |
2 |
 |
2 |
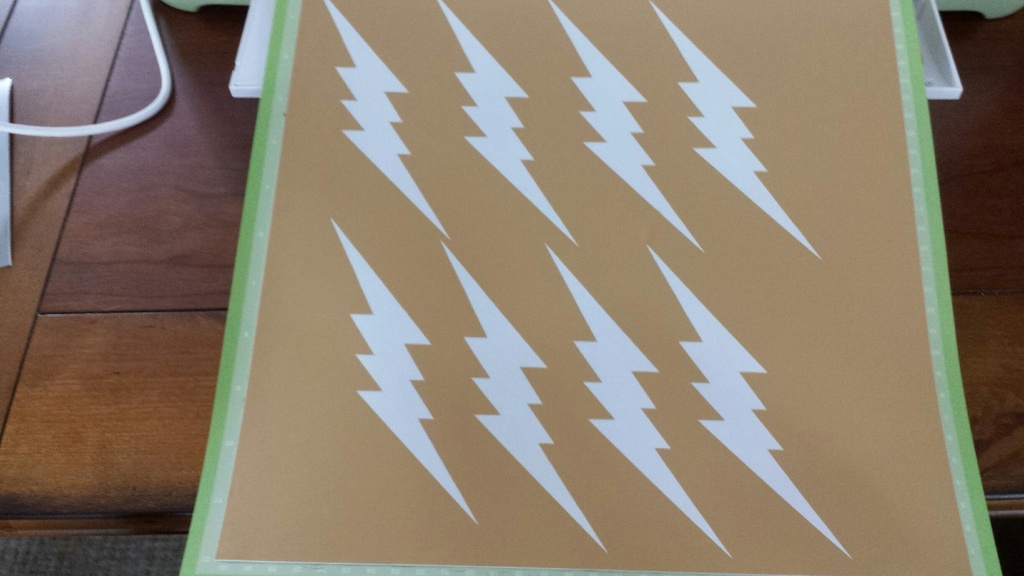
My plan now is to do yellow Lightning bolts - I will test the paint on vinyl sheets and if the paint doesn't eat/melt it i will design and cut an awesome vinyl sticker with a Cricut machine. I will use the sheet with the sticker removed to mask it off. Never tried it so i really wanna test it first
It worked =)
 |
2 |
 |
2 |
 |
2 |
 |
2 |
 |
2 |
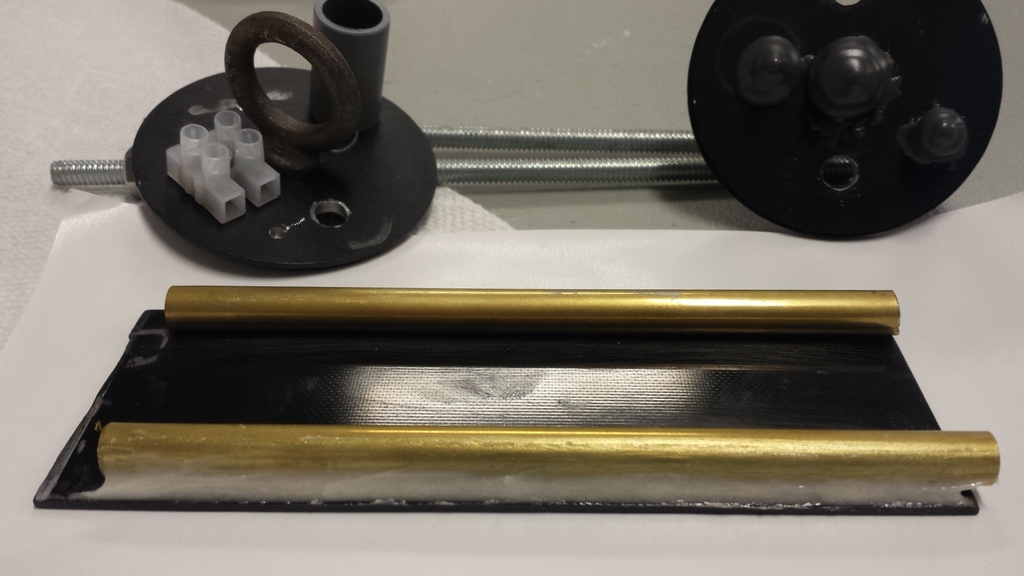
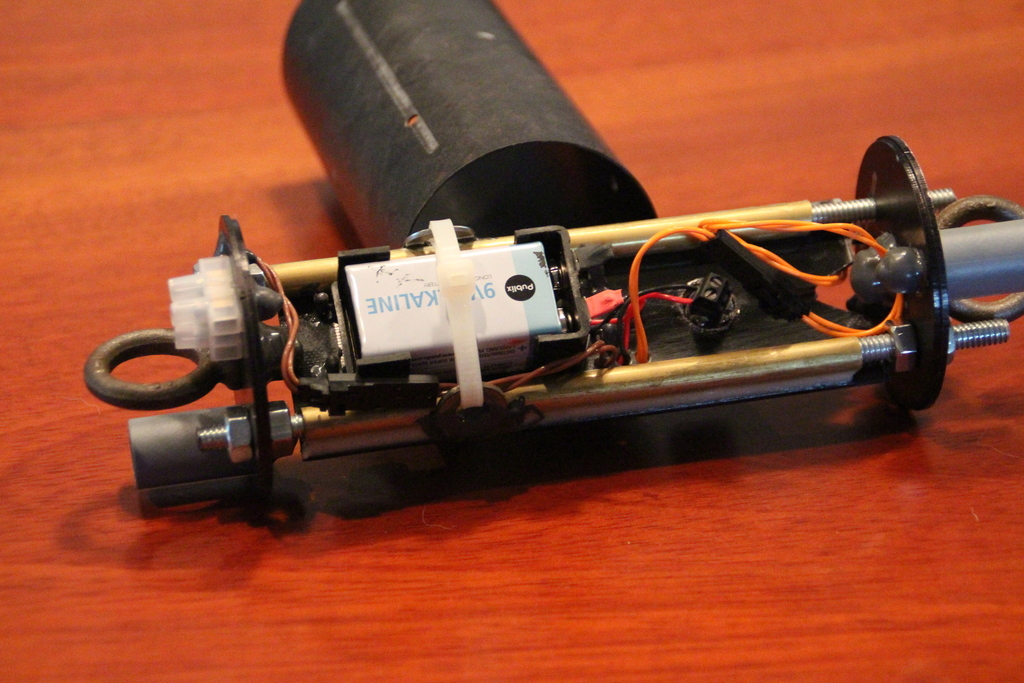
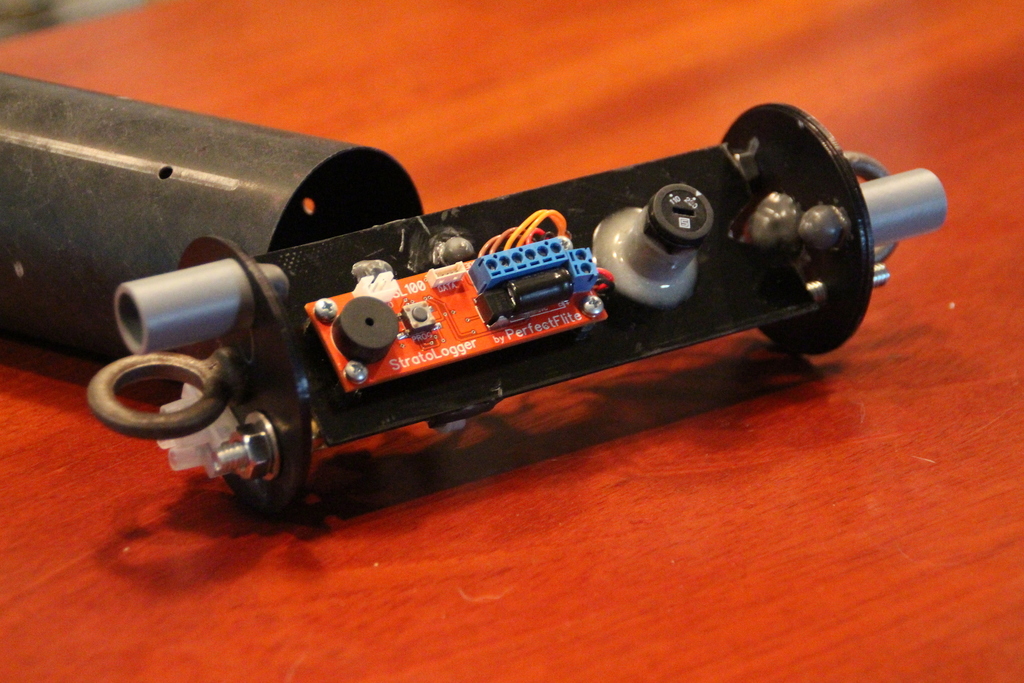
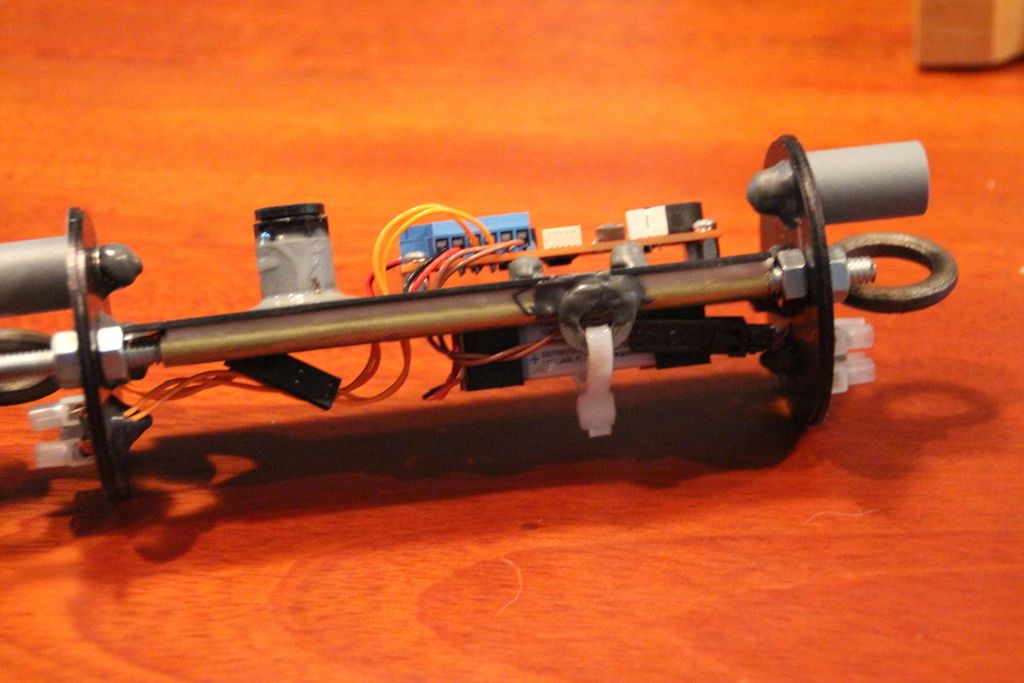
Up next = Completing the AV bay. It's a tight fit in there so i hope i do it right the first time
 |
2 |
Here is what i ended up with
Trying to build a electronics bay the size of a beer-can is HARD. I had to think outside the box on this one and i think came out pretty good. I had to put the on/off switch on the inside because of fears that it might melt above Mach. I cut up a charge well with a dremel and used it as a offset for the switch, and the switch wires connect on the backside of the sled. Used washers and JB weld to make a battery zip tie belt. Brass rods epoxied to the sled and heavy duty quick connects to make it removable . All nuts covered with JB weld so they aren't sharp.
 |
2 |
 |
2 |
 |
2 |
 |
2 |
Averages & cumulative are calculated if there are actual values present, not just estimated. None of the averages or weighted. Please do not populate actual values with estimates.


 1 2 3
1 2 3


Comments
That build & paint job is incredible!!!!
Awesome looking rocket Eric ! Very good color !!!
Love the yellow lightning bolts and logo! Incredible.
Thanks Jason!!!!!
Thanks Freddy!!!!!!!!
frewi80 on 2016-03-01 02:31:04Z wrote: