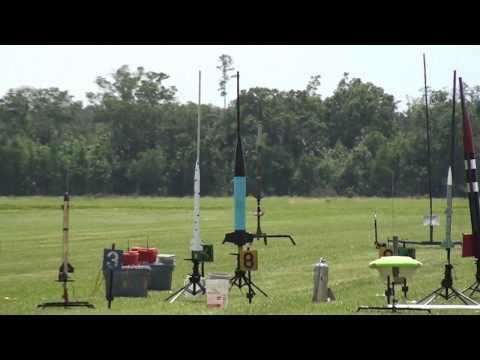
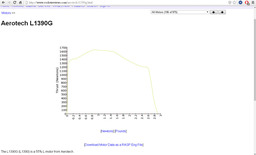
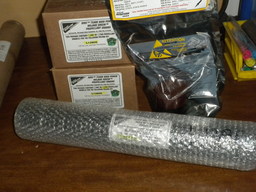
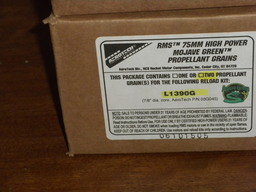
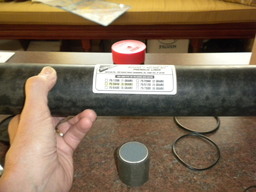
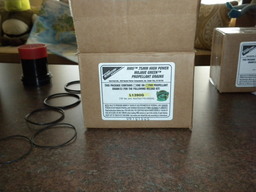
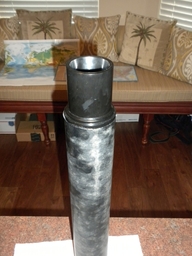
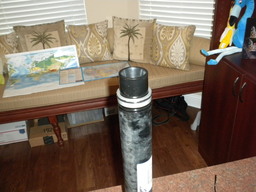
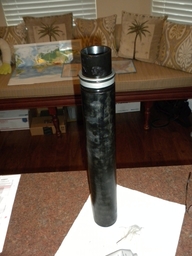
Prepping this rocket also for a 'test' flight in Bunnell, FL. Altitude will be just above 9800 feet. Will also put the RTX/GPS for a second test as well as the TAGG. This is my first Aerotech 3 grain motor and I will make a video of the assembling also. Bought the motor from Chris Aubright.
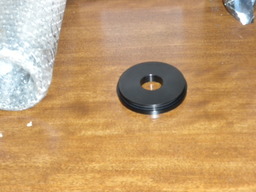
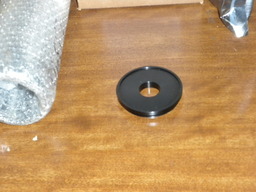
Update 02/16/2018 - Got the closure disk for the Aerotech 75 mm in today, will assemble the motor after the soAR launch in Georgia.
Update 03/09/2017 - Launch date delayed. Still have to recover my Exodus rocket from Georgia and see how the electronics survived the 7 day hanging in the tree there. That Exodus rocket was recovered by Shawn O'Connor and it seems that it might be ok, will give it all a good check out before I use them!
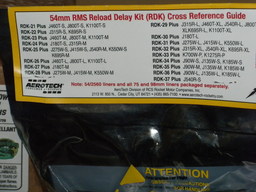
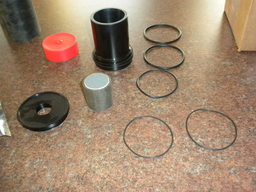
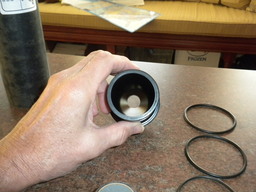
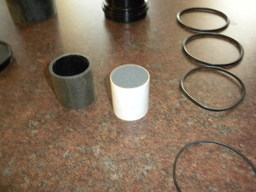
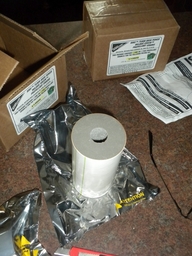
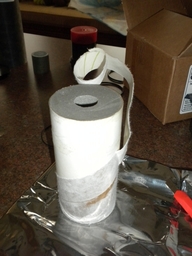
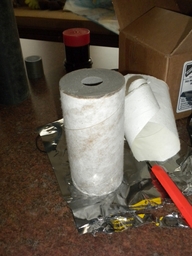
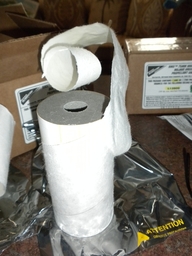
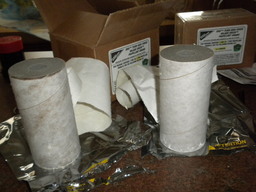
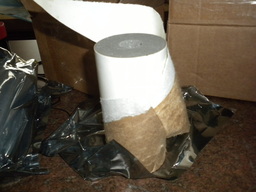
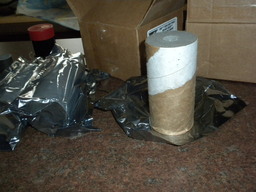
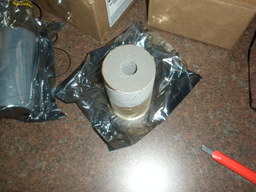
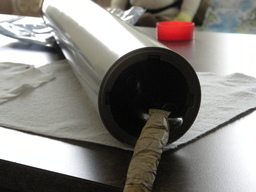
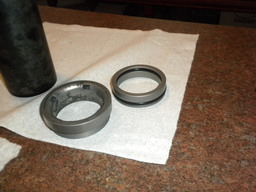
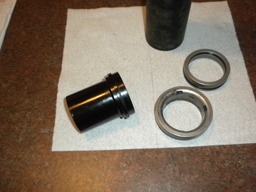
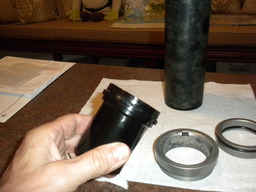
Update 03/24/2017 - Tonight I examen the motor and parts. Opened the packages with the grains, and they smell fresh as can be..But had a hard time sliding them in the liner so I peeled the outershell a bit off of all the grains and now they will slide in properly! Was reading the instructions and it seems pretty straight forward like CTI.. Will assemble everything tomorrow and make it all airtight..
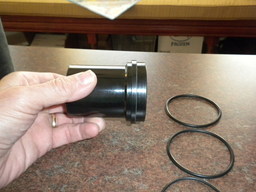
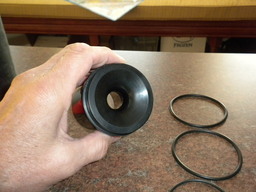
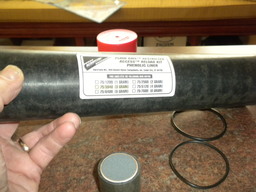
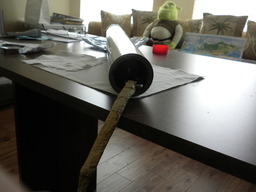
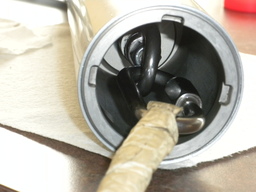
Update 03/25/2017 - Motor completely installed and in casing. Had to peel off a layer of those 3 grains to fit the liner. All O-rings are in place, even two between the grains, but it seems there is still play between the grains. A little odd on the end of the aft closure, The nozzle just sits in loose in the liner, with the CTI liners the nuzzle is snug and tight ! Also one of the aft closures has the O-ring inside and just slides in snug over the long nozzle ... The CTI aft nozzle seems to 'sit' more properly... Texted Aerotech and they said it should be ok. (They have a facebook website). The whole O-rings and casing are greased up and slide in smooth and tighten up. All airtight for now. Will go over the instructions again and see if I didn't miss anything crucial.
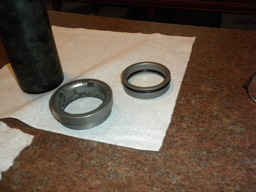
Was reading the assembling instructions again and there needs to be another O-ring on the aft closure, I had the CTI closure on there with an O-ring inside AND outside and indeed there is space between the aft and the CTI closure so I installed an extra O-ring there. So there are now 3 O-rings on the aft closure !!! The front (top) has one O-ring on the metal bulkhead/seal-disk and an O-ring on the CTI forward closure. I guess that are enough O-rings. And yes the description mentioned that the grains have some spacing in between that's why you hear and feel them shifting a bit. Ok all good here now.
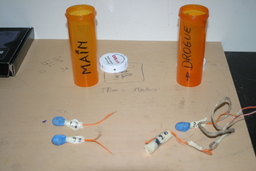
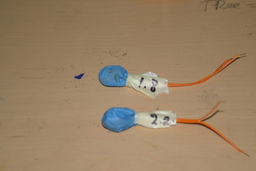
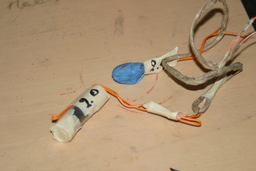
Update 04/13/2017 - Made the Charges today and tucked them away for now. Will test the Av Bay first before I installed them.
Update 04/15/2017 - Tim gave me a long igniter and a pellet before to ignite that L Aerotech motor. Was playing around with it today and had to shave a bit inside that pellet to get it over the head of the igniter.
Update 04/16/2017 - Testing and checking the Av Bays and Electronics. All good.
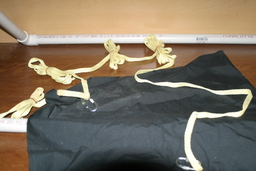
Update 04/19/2017 - Parachutes packed and upper bay closed with sheerpins. still working on the av bay to may the sled fit to the phone.
Update 04/20/2017 - Worked some more on the sled, did not have fiberglass left over so I used wood to build the phone angle and some cardboard to hold it tight in there . Seems to work pretty good. Also installed the charges and the motor in the rocket.
Update 04/20/2017 - All double checked and loaded in the car, checked the sled and phone and seems to work great with that temporary setup. Eye of camera is as close as can be to the window. Pyro loaded in the lower frame, The Tag and RTX will be on the loops of the shock cord. Also put the igniter on a stick with masking tape, should fit nicely in the motor.
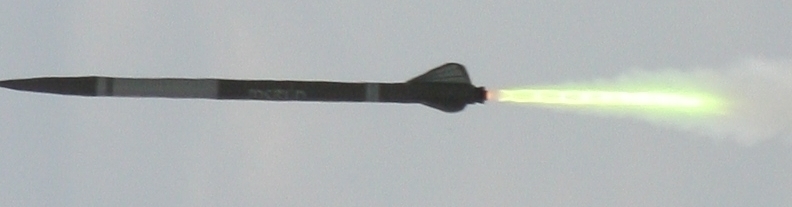
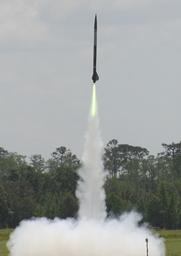
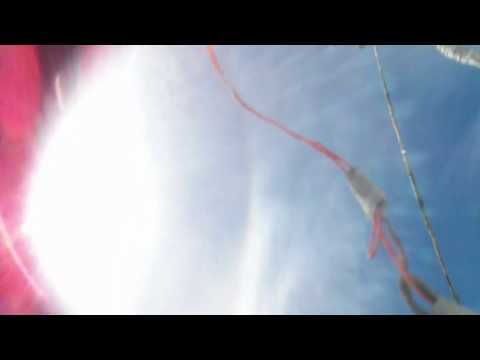
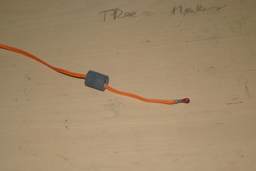
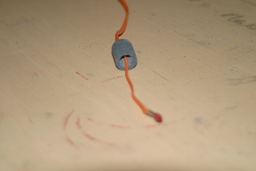
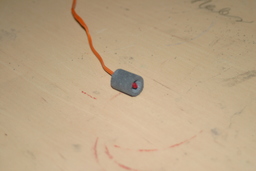
Update 04/22/2017- Launch day.... great day and weather, a bit windy but that dropped down a few times, Rocket prepping was a breeze !! All was already mostly prepped the day before. Florence took many pictures of me prepping the last bits. Then off to the launchpads. Was hoping that Jimmy would go first for his L3 with his super big and long rocket but he has still lots of work to do. So there were three away cell launch rods one 10/10 that I needed and two 15/15's.... The 10/10 was a bit shaky but Eric and I put some wooden shims and it got better. I armed the stratologgers and the first one beeped out great but the second one (the back up) did not work so taking rocket down and back to the car. Opened the rocked and found out that one of the white switch wires got disconnected !! And also one rail button come off also !! So Bernie had some super glue and that worked great, Also did the other rail button also just to make sure !!! I had to charge the phone again because it got pretty low. So I was waiting till around 1 PM to finally launch the rocket, some confusion with the far away cell line up but the rocket went up straight !!! With a great green colorful flame !!! Thanks Chris for that Aerotech motor ! The rocket went high into the blue skies but then some clouds covered the rocket on the way down, so actually nobody saw any deployments !! The GPS tracker TAG picked it up actually not so far north on a dirt road. So Shawn, Clayton and I jumped into the car and drove to the location. We could get close bit still have to walk into two fields to get it.. I crawled under the last barbwire to get it and put my phone and gatorade down to hand it over to Shawn and Clayton. So I forgot about the phone !! Had to come back to pick it up next to myOrange gatorade ! Good that both were still there for easy locator !! haha... So stress was gone for that day !. First look at the launch phone video was GREAT !! And also altitude was over 10K . Will download all the data in the next days.... Also the RTX got disconnected from the kevlar shock cord.... and got lost in the field !!!
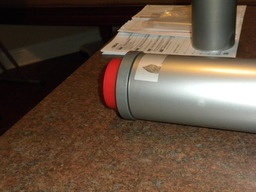
Update 04/24/2017 - Cleaned the casing today, Was dirty but came out clean, after a few wipes with WD40 and silicone oil.
Mach Diamonds
 |
3  |


 launch170422_132056_148.csv
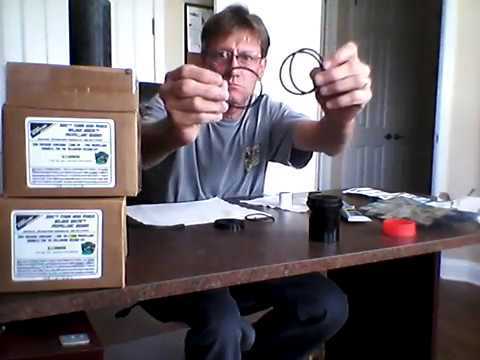


 1 2 3 4 ... 9
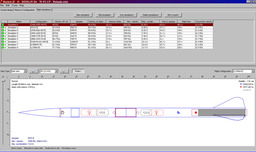


Comments
C'mon Freddy - let's be honest! You are going to bust the waiver with that motor!
Tim !!!! That's a secret for now...
timcub on 2017-02-15 13:23:56Z wrote:
I am going to start calling you Chris because he has busted the waiver at least twice - haha
frewi80 on 2017-02-15 23:24:39Z wrote:
Told ya you'd bust the waiver - haha! Still great flight!
I love the onboard VIDEO!!! That awesome cloud right next to you is crazy cool.
Well done Freddy! Just get a few less newtons next time to stay under the waiver.